Complete setup guide

Poster POS + 7stamp: Complete Setup Guide

Digital stamp cards in Apple Wallet and Google Wallet straight from your Poster POS. No app, no registration, no shift retraining. This guide explains how to connect the plugin, which working modes are available, and how to record gifts correctly in Poster so the shift balance still lines up.

Stylized Poster POS checkout scene with a loyalty reward state and a printed receipt QR

1. What the integration gives you

Every Poster receipt can become a stamp on the customer wallet card in Apple Wallet or Google Wallet.
Customers join in about 15 seconds via QR. No app, no registration, and no shift retraining.
Three reward types work at checkout: instant gift, voucher, and wheel of fortune.
Two operational modes exist from day one: cashier-driven manual scan or fully automatic receipt QR and kiosk flows.
You can stamp per receipt or per every N currency units on the receipt, depending on how your average check behaves.
7stamp adds vouchers, campaigns, birthday gifts, and win-back automations that Poster does not provide natively.
Delivery Inserts help move aggregator orders into your direct customer base without changing the checkout logic.

2. Plugin setup

Step 1. Connect the 7stamp application to Poster

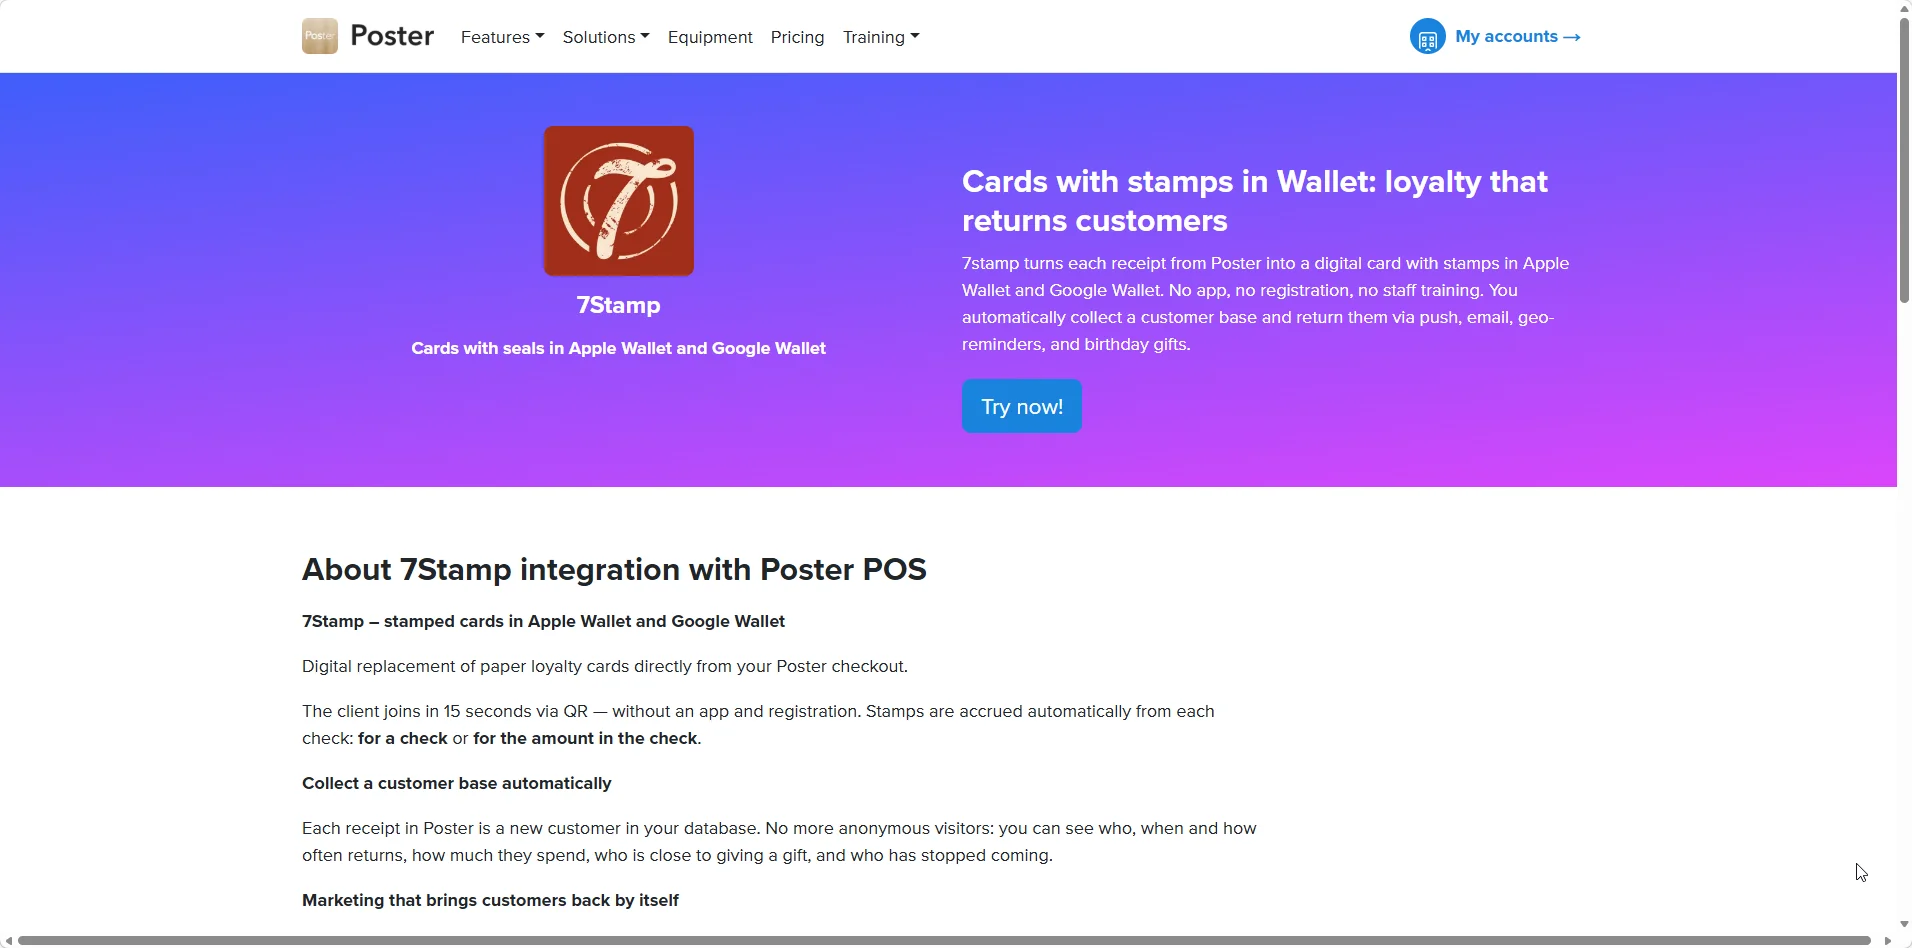
Open the Poster marketplace page, click Try, then Connect. If you prefer the in-product route, find 7stamp under Applications -> All applications.

7stamp listing inside the Poster marketplace integration catalog
Poster application marketplace with the 7stamp integration tile visible

Step 2. Create the API key in 7stamp

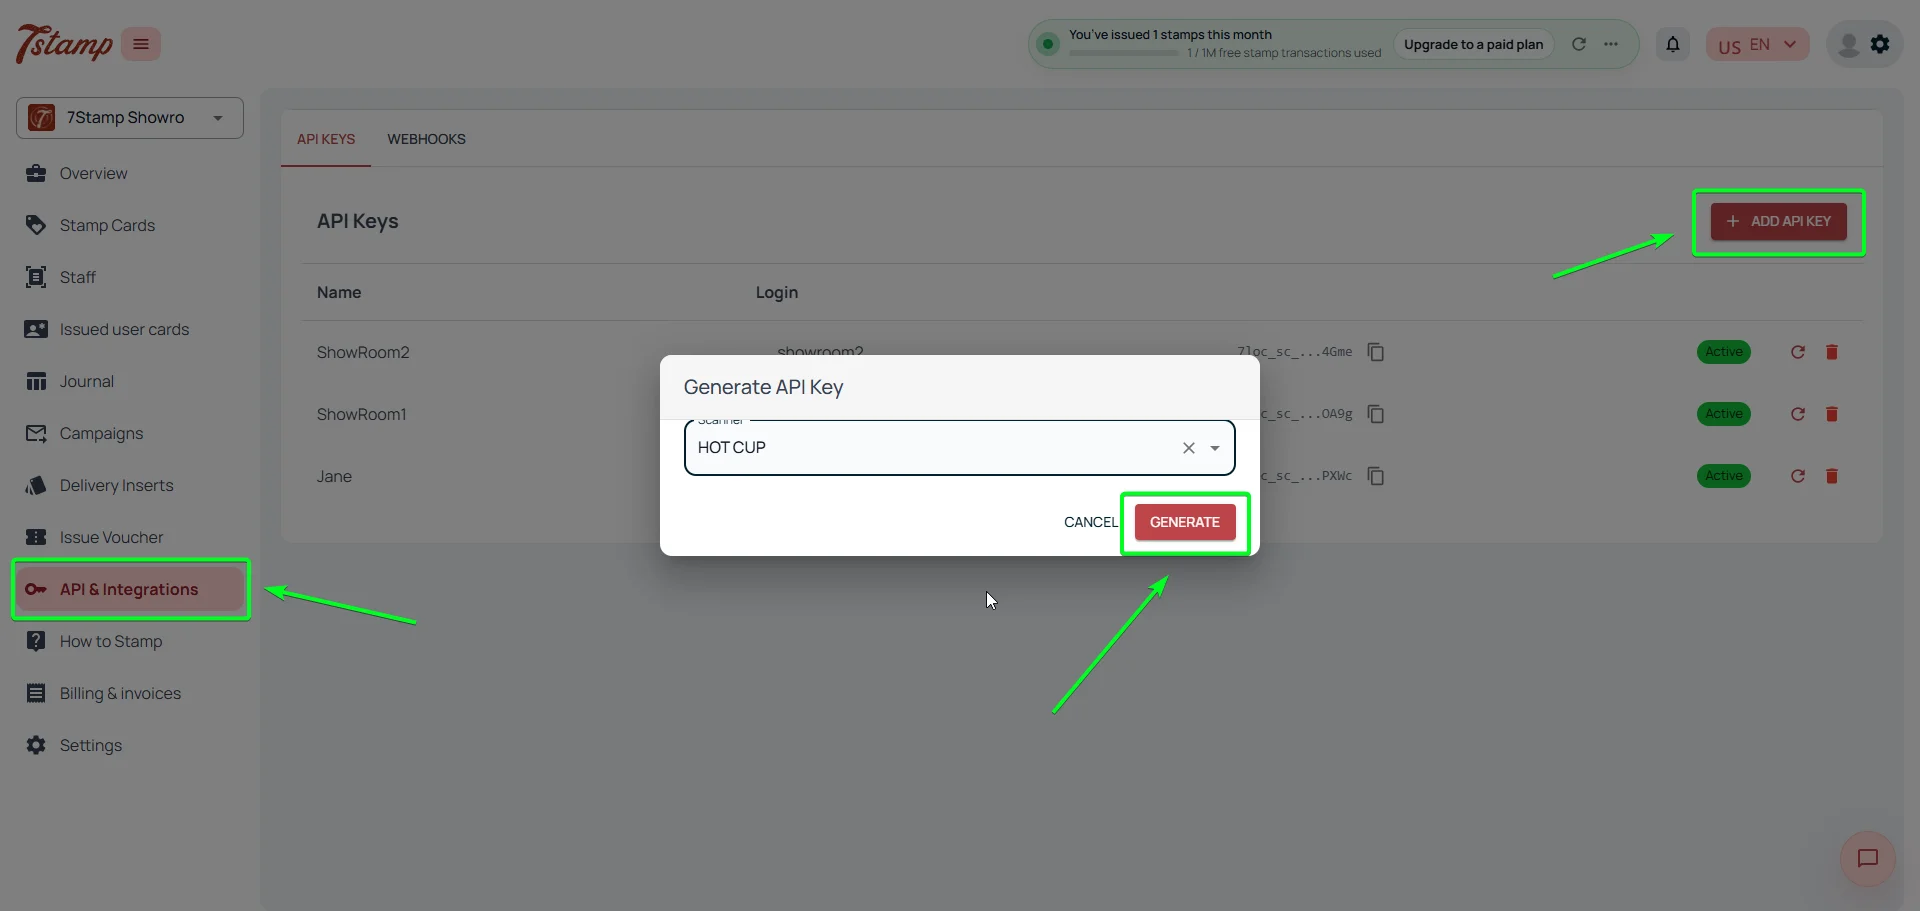
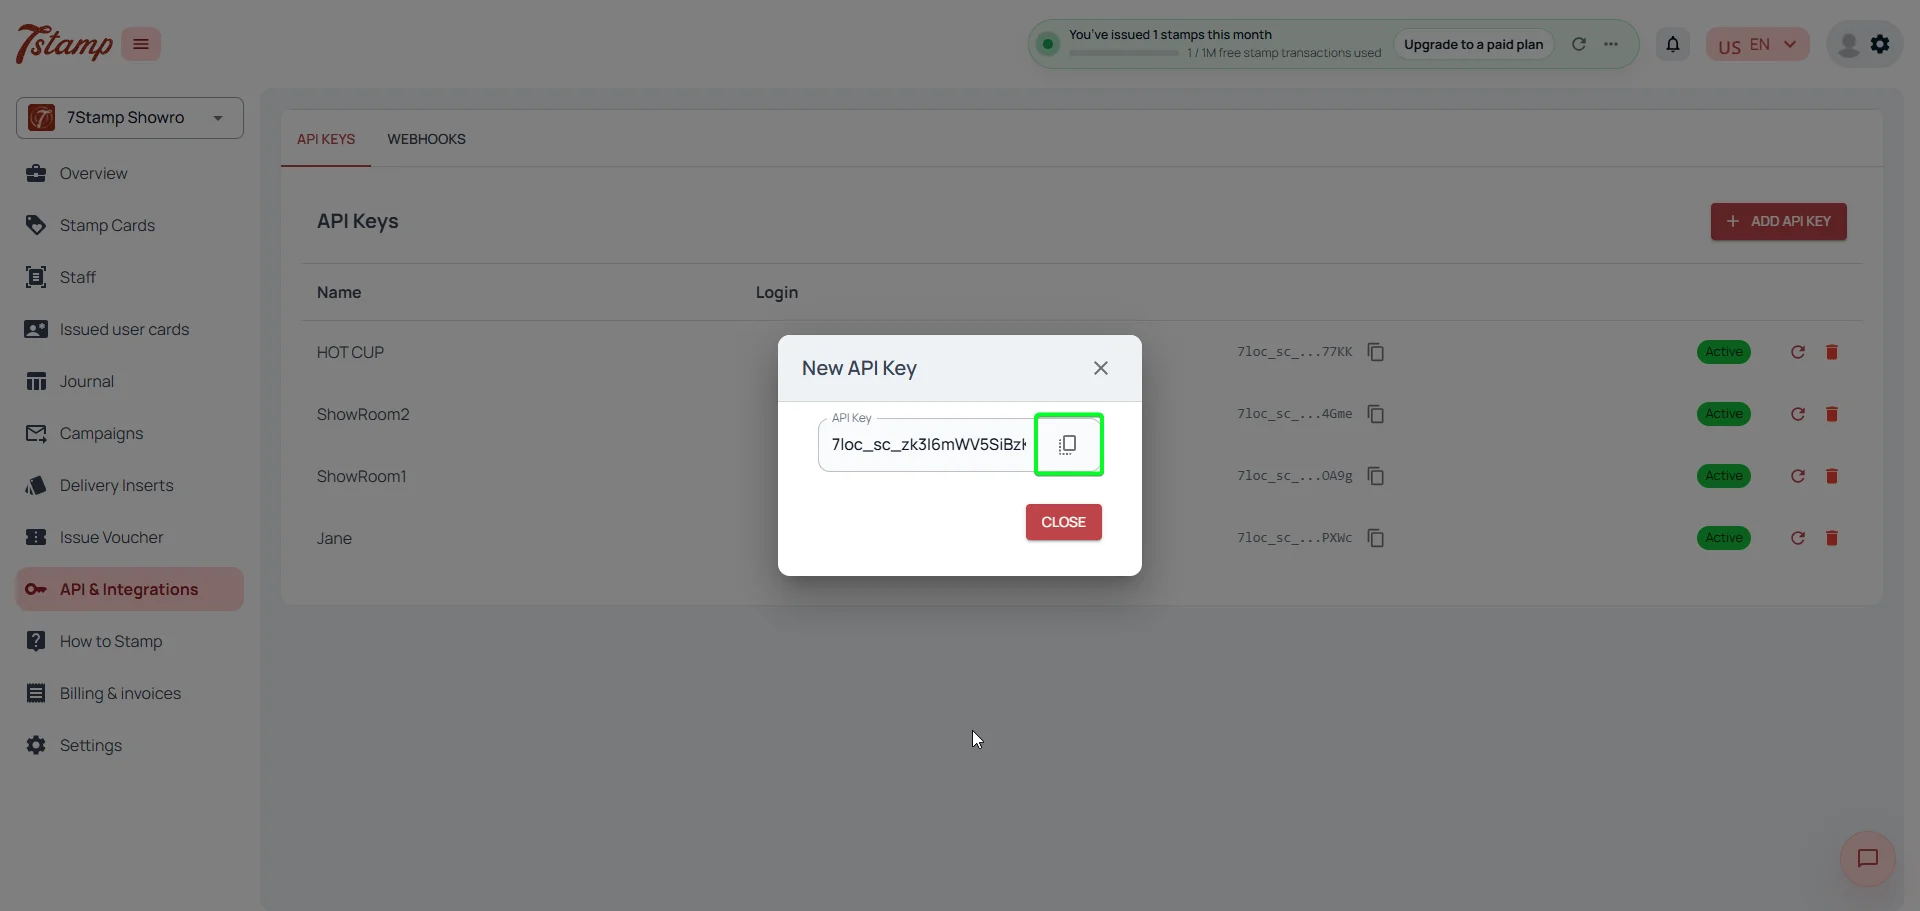
In admin.7stamp.com go to Stamp Cards -> API & Integrations, click Add API key, and copy the key. Each key is tied to one Staff Login, so multiple locations or workstations can legitimately have multiple keys.

7stamp admin API and integrations settings screen
Newly created 7stamp API key ready to copy in the admin panel

Step 3. Paste the key into Poster POS

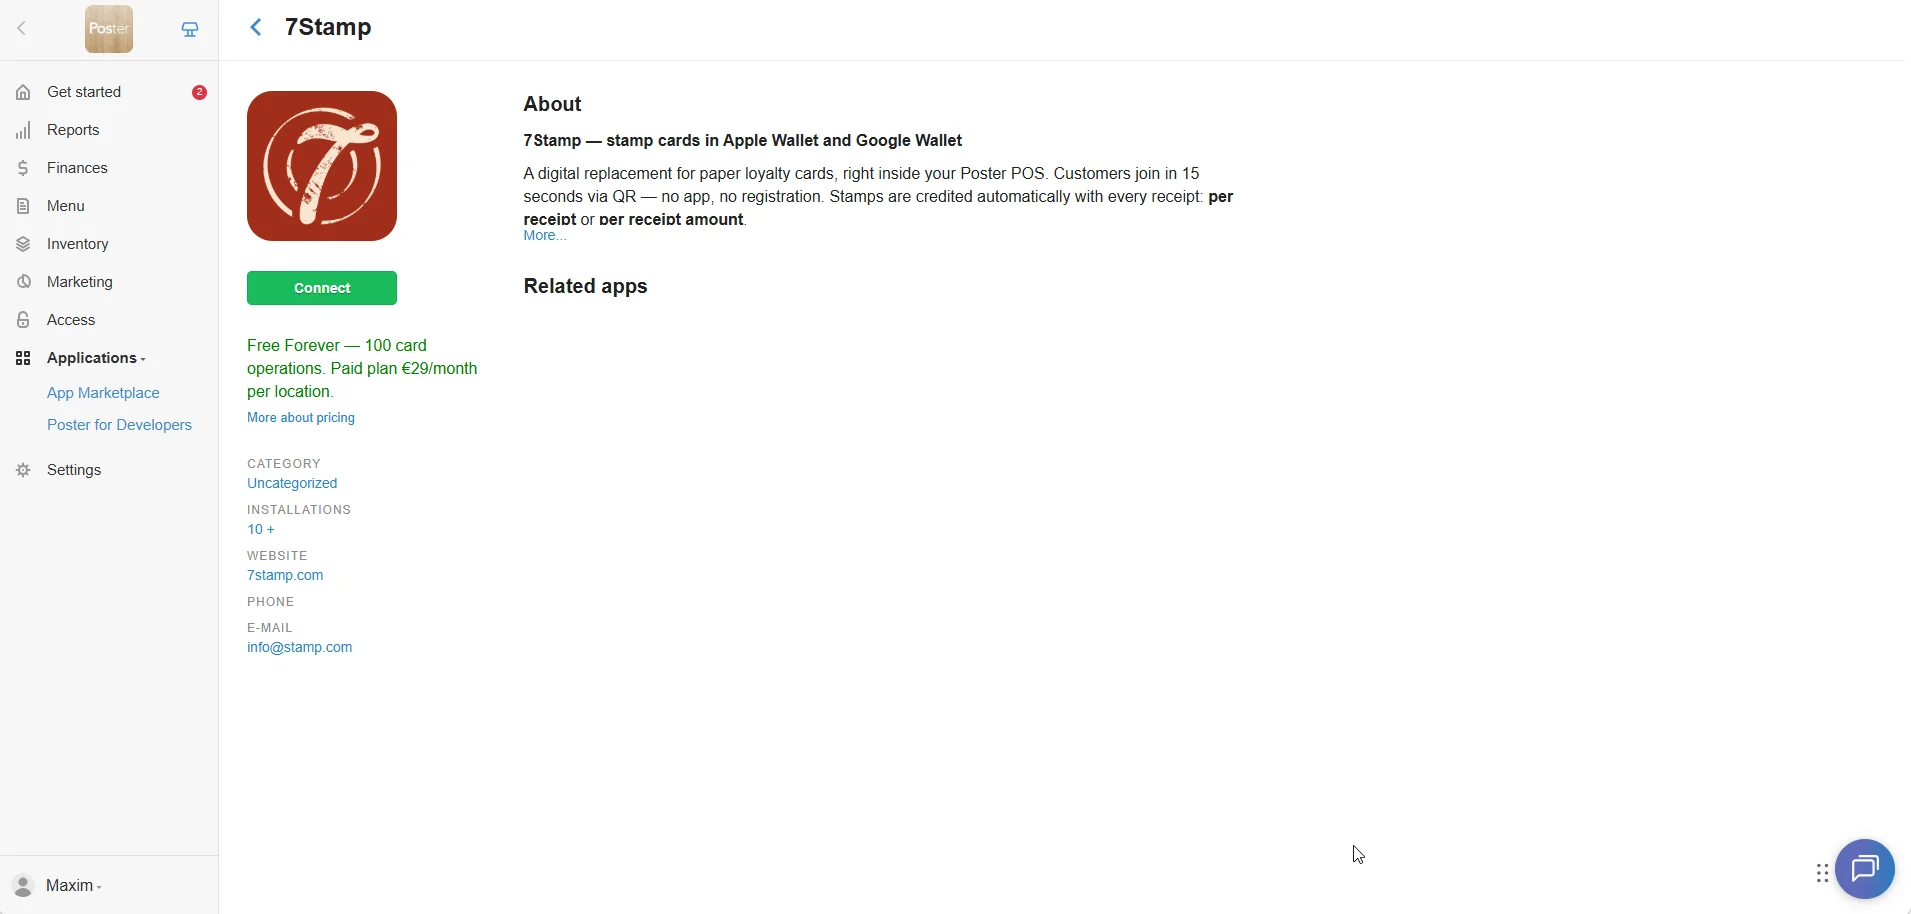
In Poster open Functions -> Applications -> 7Stamp, paste the key, and wait for the connected status to appear. At that point, the integration is live and you only need to choose the operating mode.

Poster POS integration settings showing successful connection to 7stamp

3. Two stamping modes

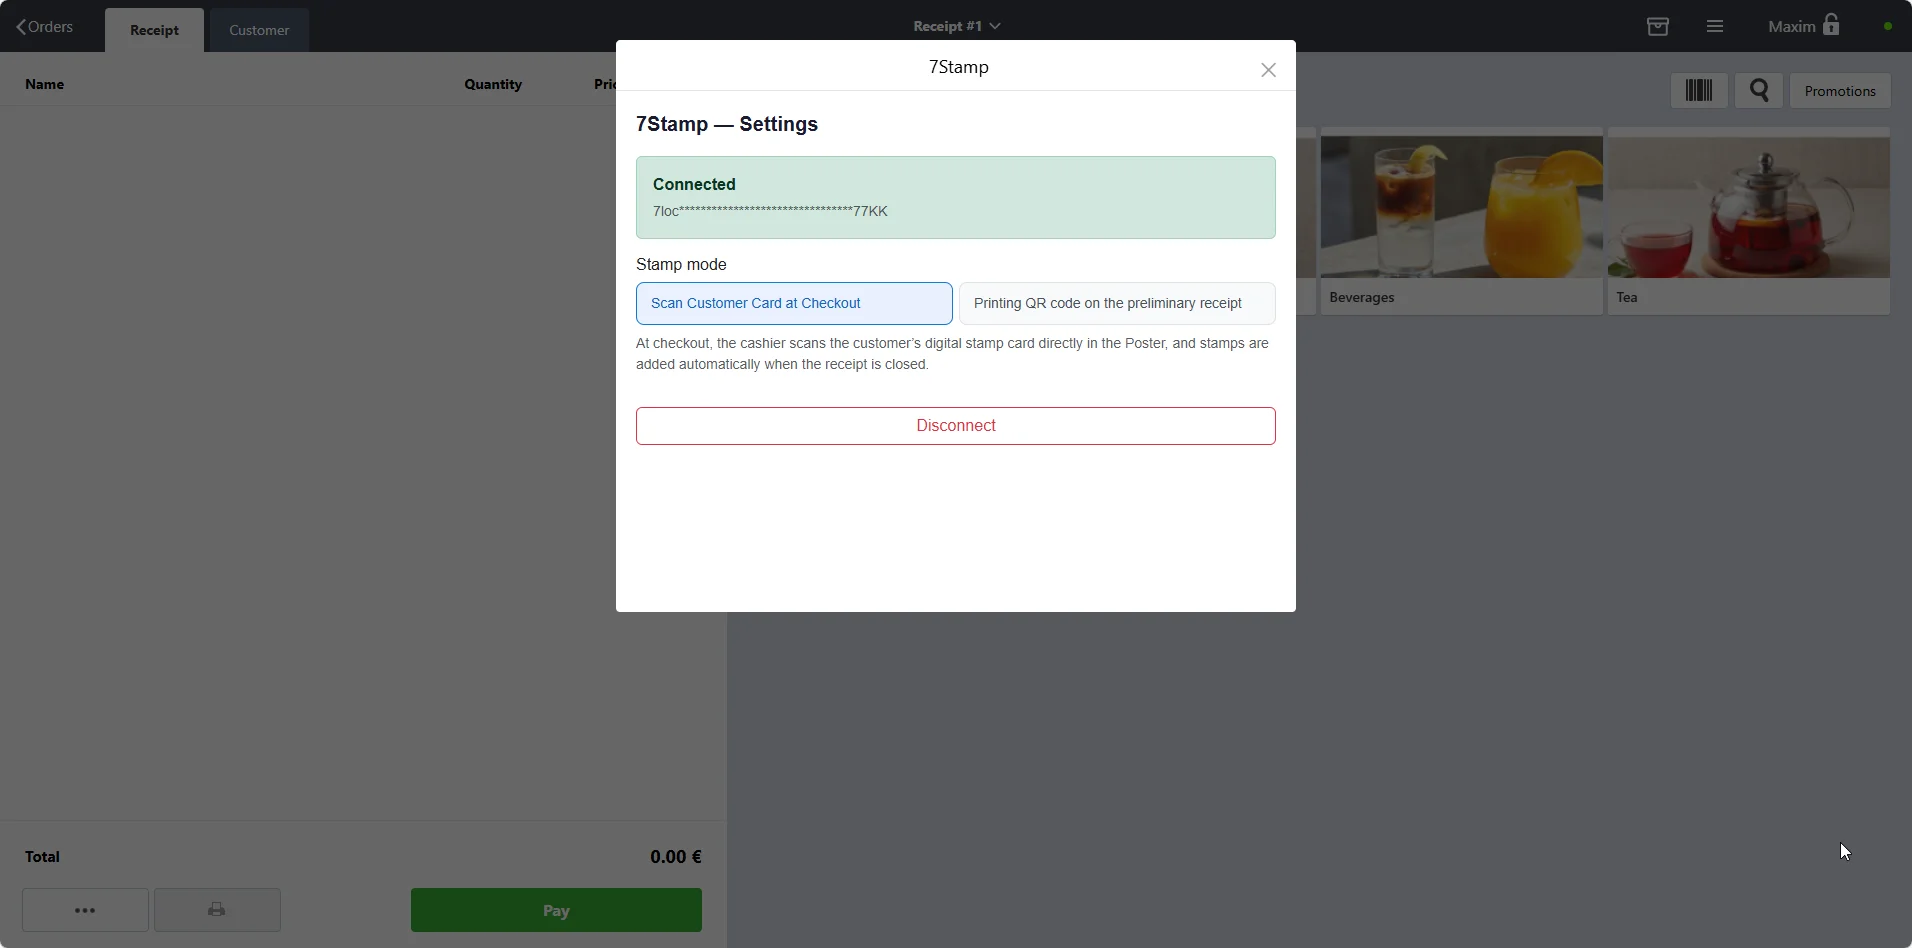
In the 7stamp settings inside Poster, the Stamping mode switch controls whether the cashier identifies the customer before checkout or the customer collects the stamp by scanning the receipt.

Scan customer card at payment

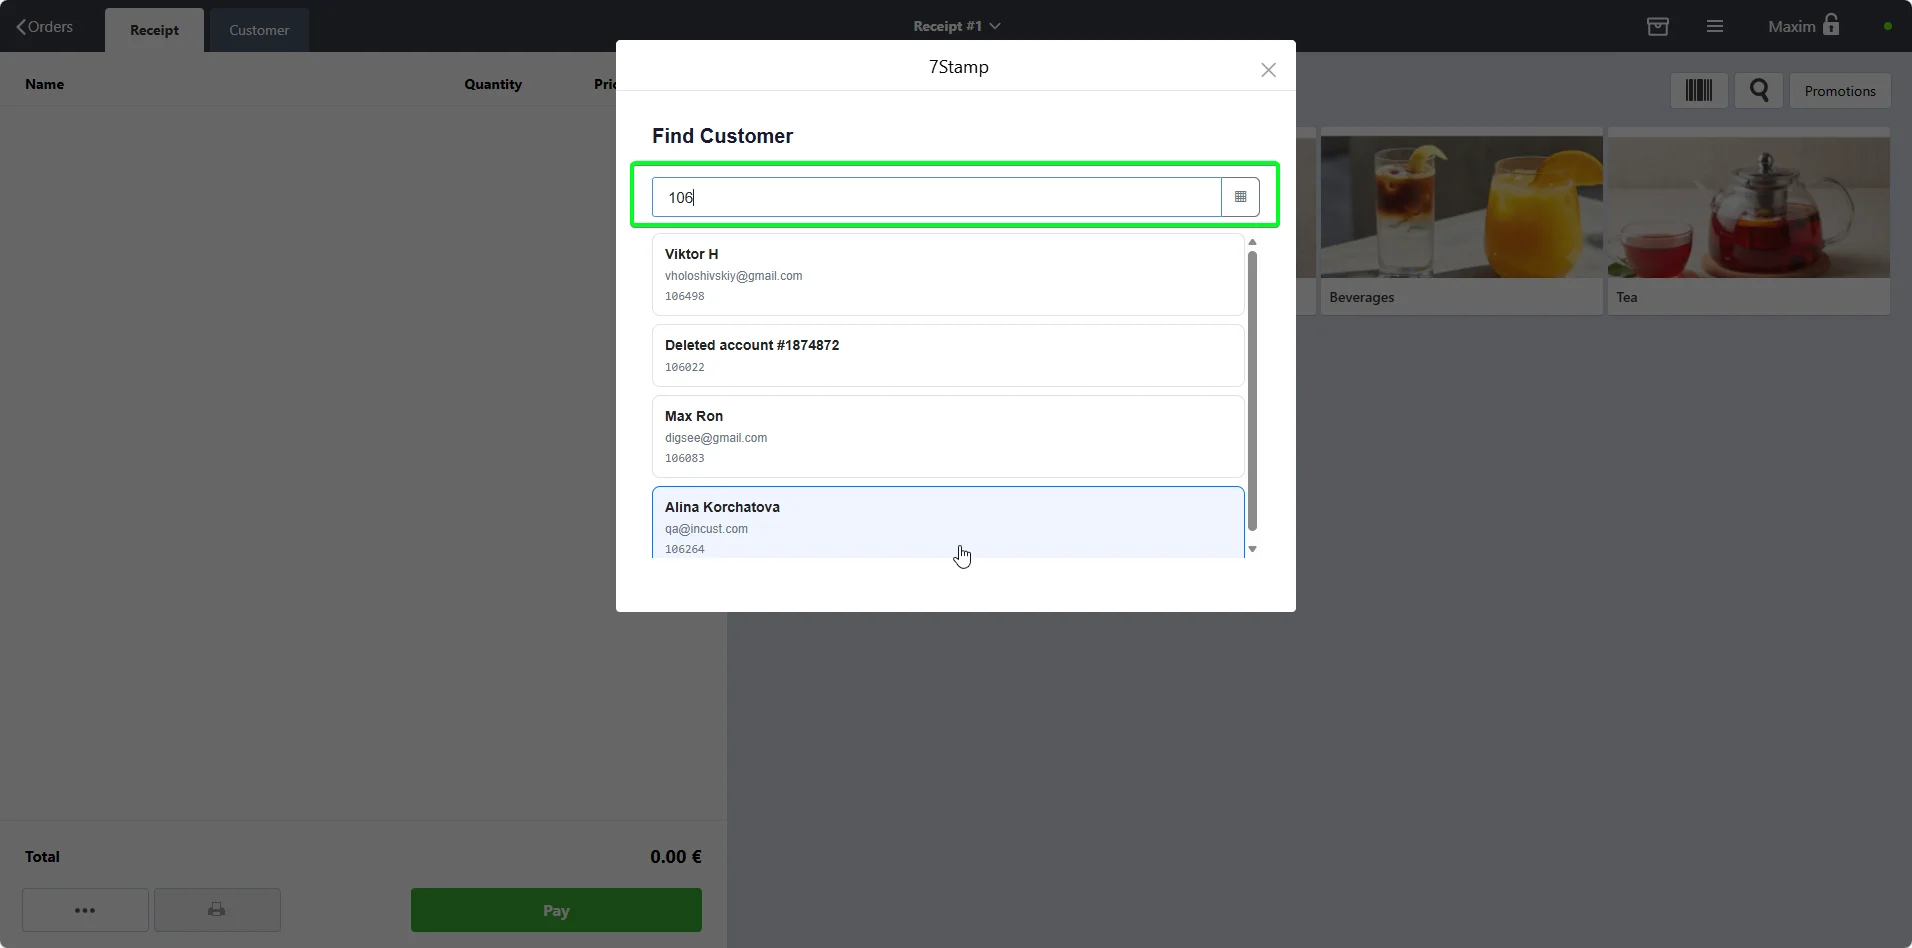
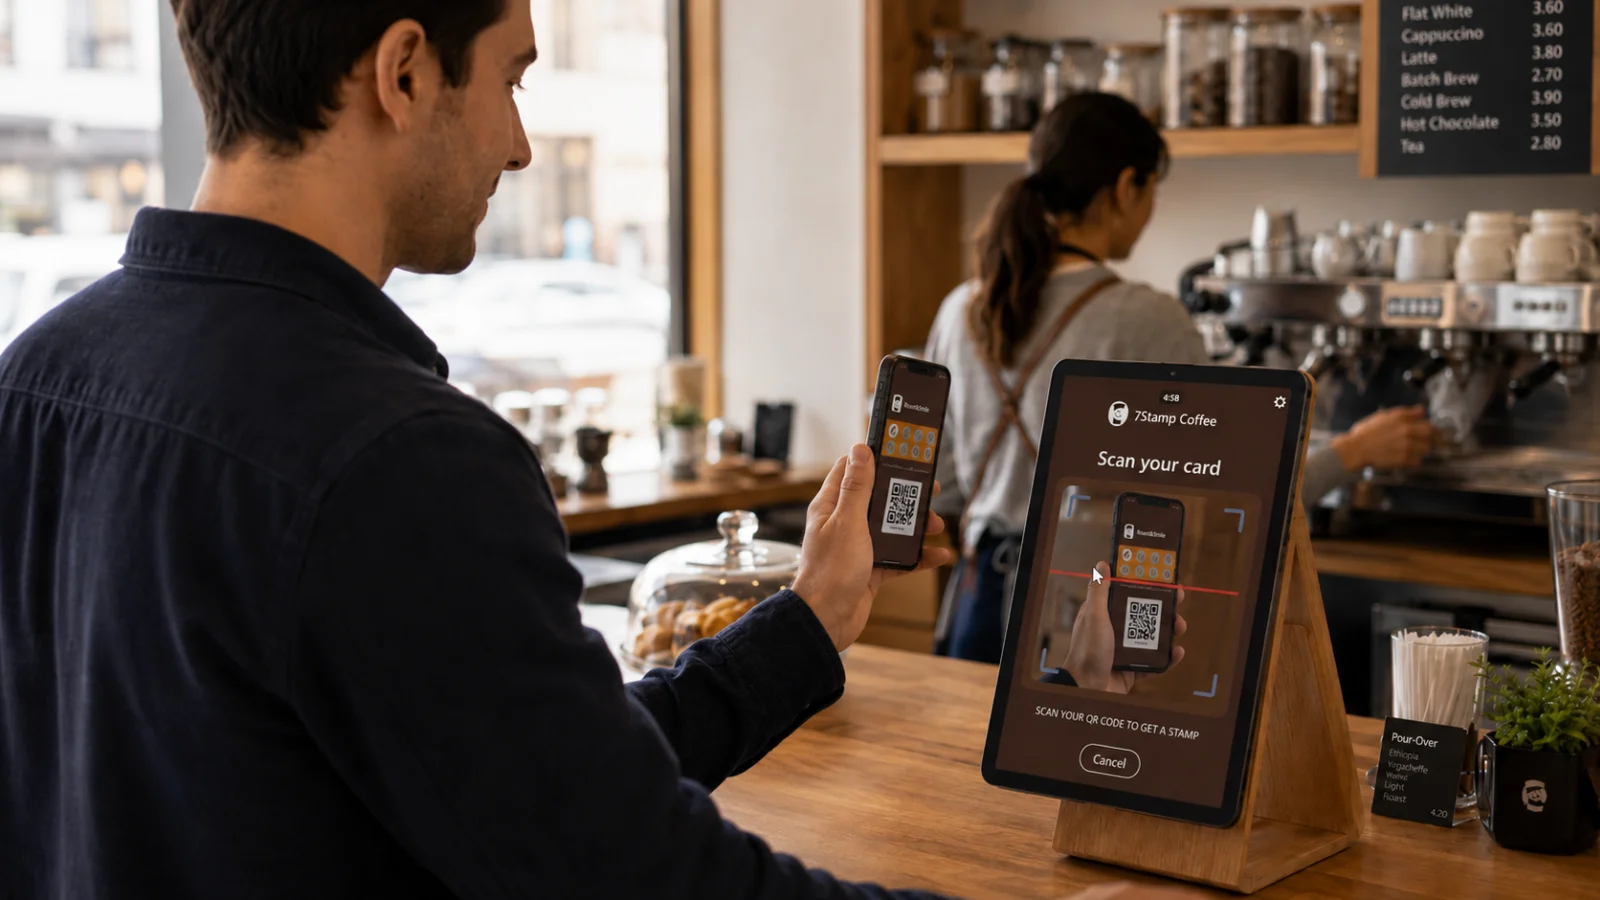
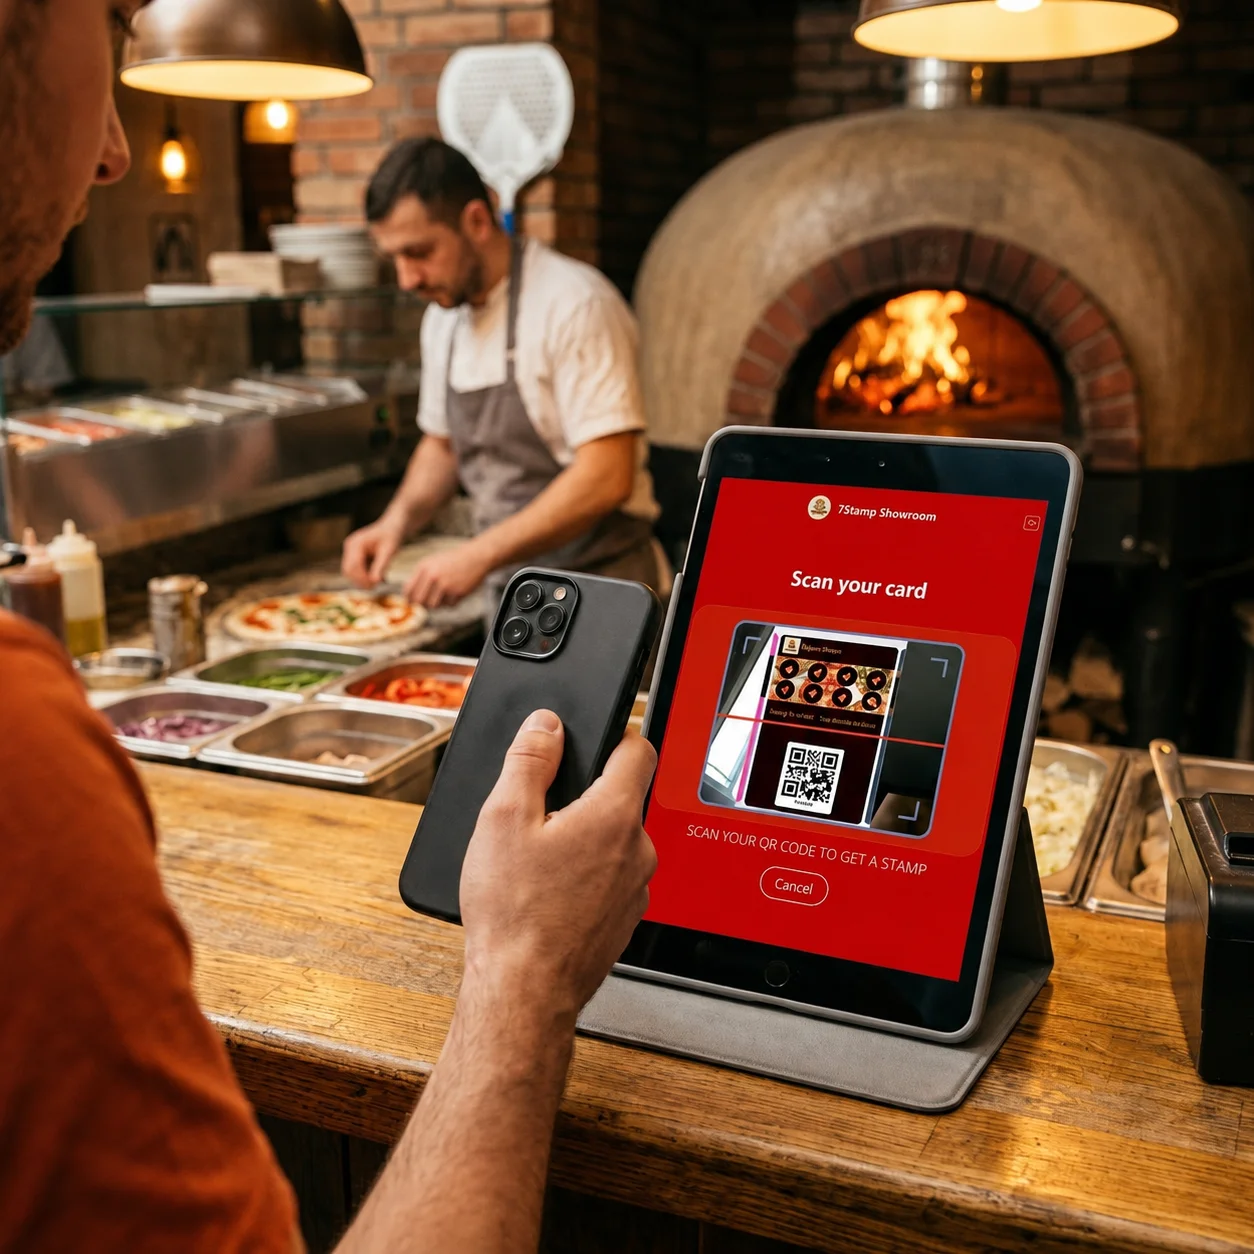
Best for restaurants, salons, and premium service. The cashier identifies the customer by QR, six-digit number, email, or name before closing the check.

Print QR code on the pre-check

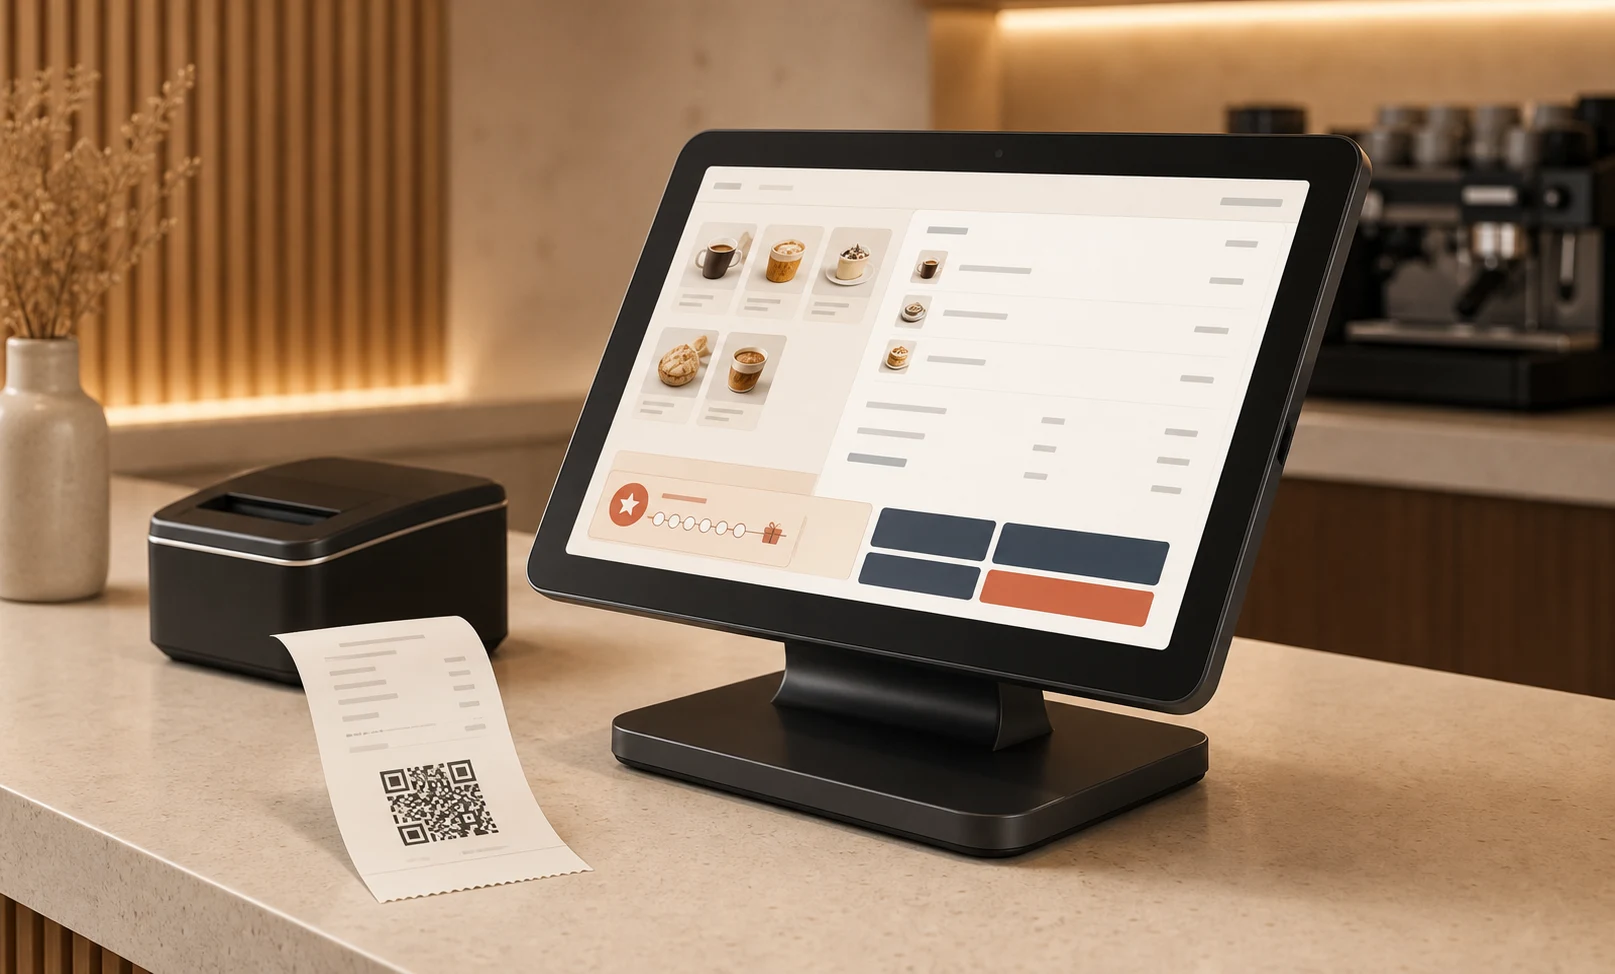
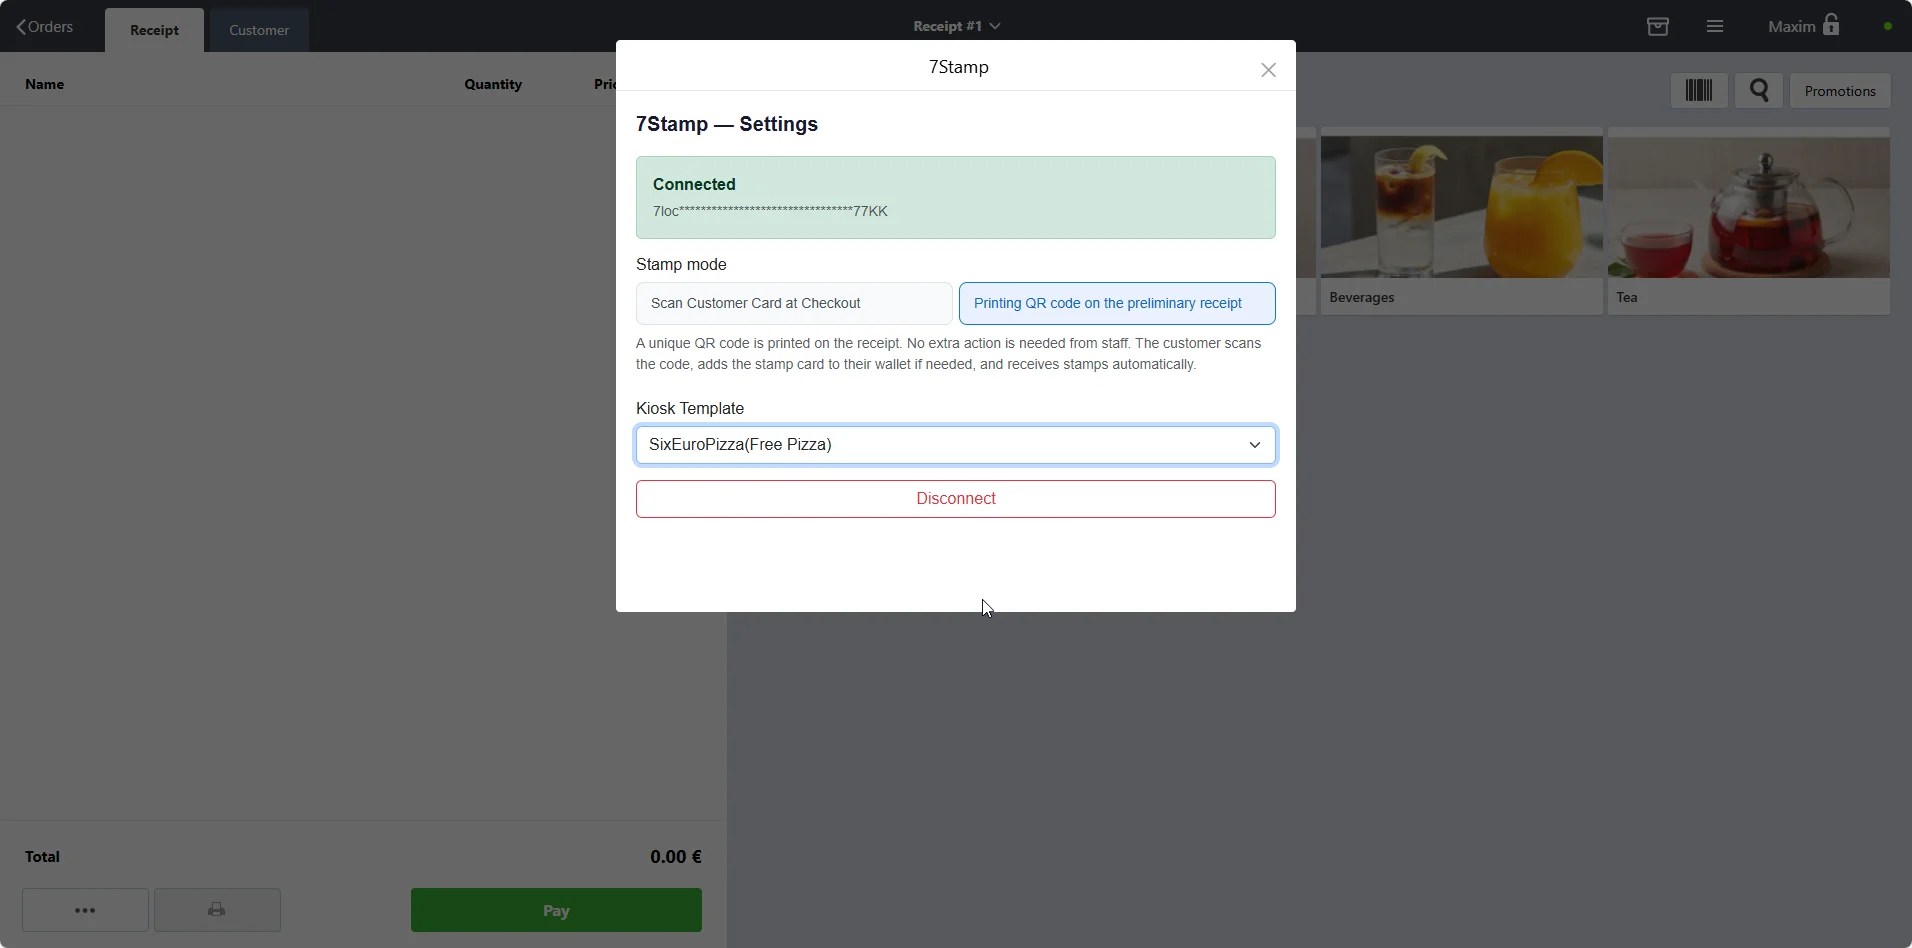
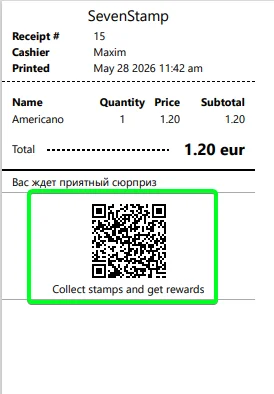
Best for cafes, bakeries, and fast counters. A unique QR is printed at the bottom of each receipt, and the customer scans it with the phone camera to get the stamp.

Poster POS 7stamp settings showing the print QR on receipt mode

1 stamp per receipt

Best for coffee shops, bakeries, and barbershops where visit frequency matters more than basket size.

1 stamp per every N currency units

Best for restaurants, retail, and services with more variable checks. It gently pushes customers toward one extra item.

4. Manual mode

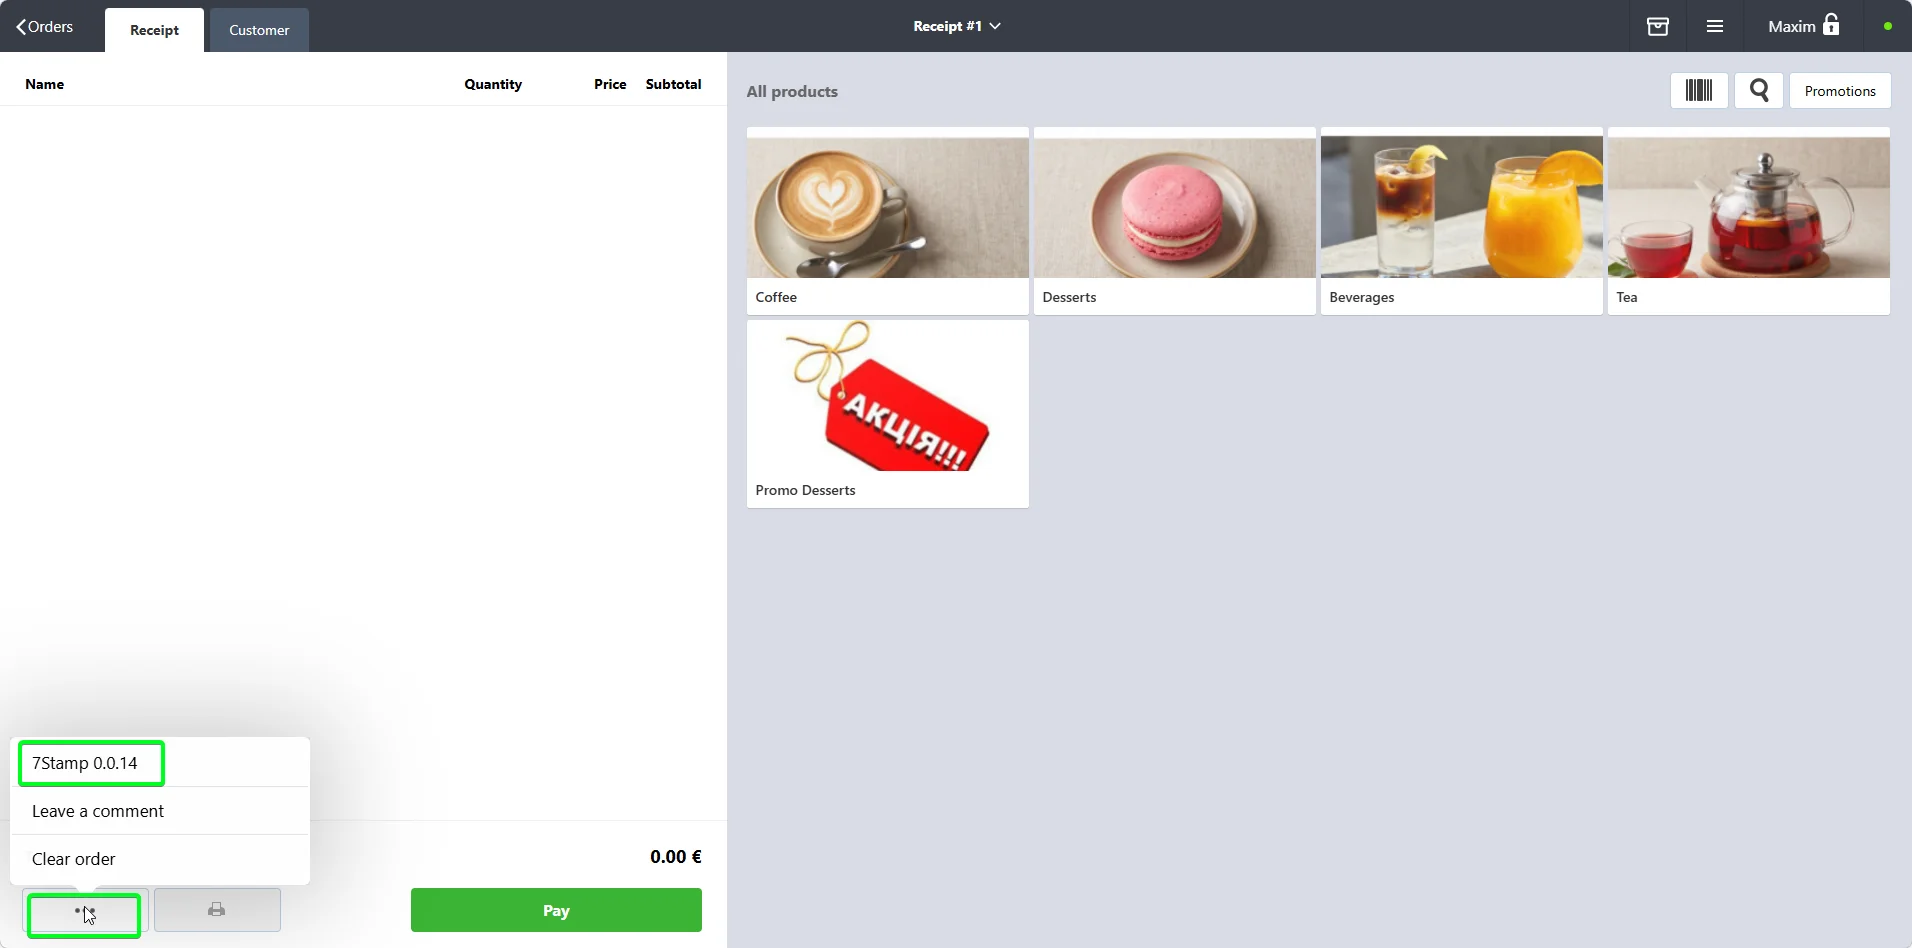
The cashier opens 7Stamp from the three-dot menu on the main POS screen, identifies the customer, then closes the check as usual.

Poster POS order screen with the 7stamp menu action visible
7stamp customer search modal inside Poster POS

How to identify the customer

  • Use the POS scanner or camera to read the QR from the phone screen.
  • Enter the six-digit number printed under the QR on the card.
  • Search by email.
  • Search by name.

What happens at payment

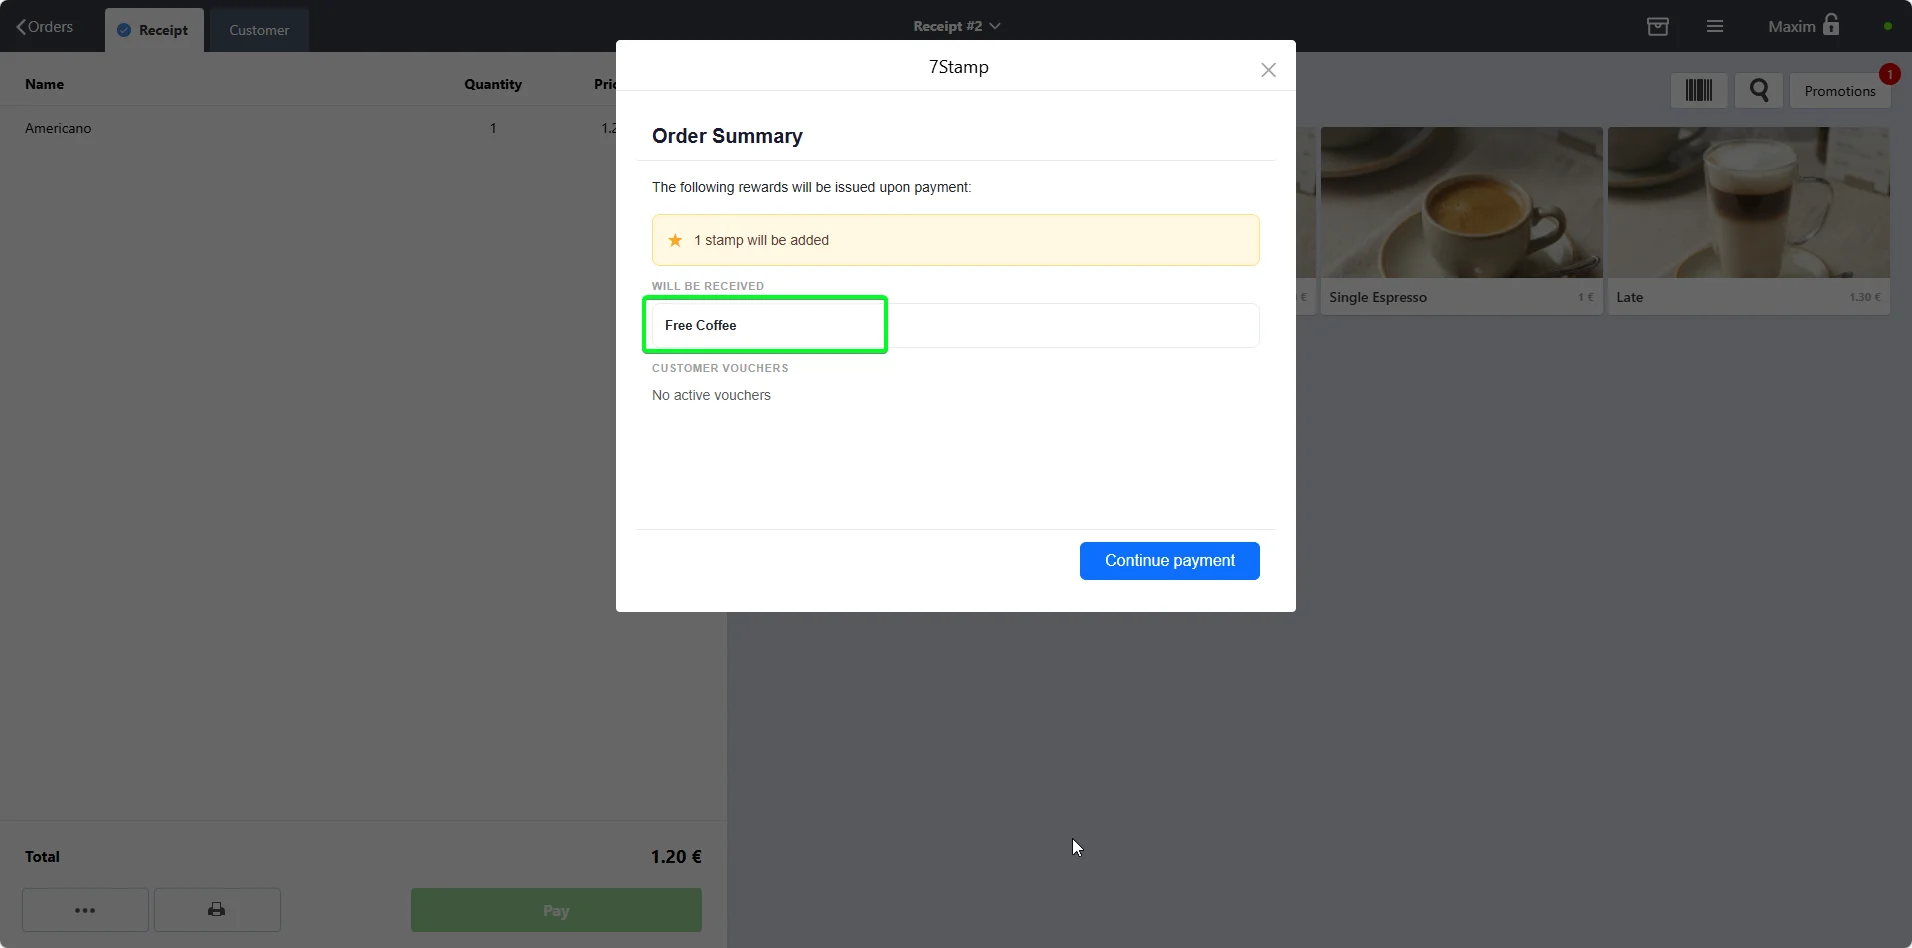
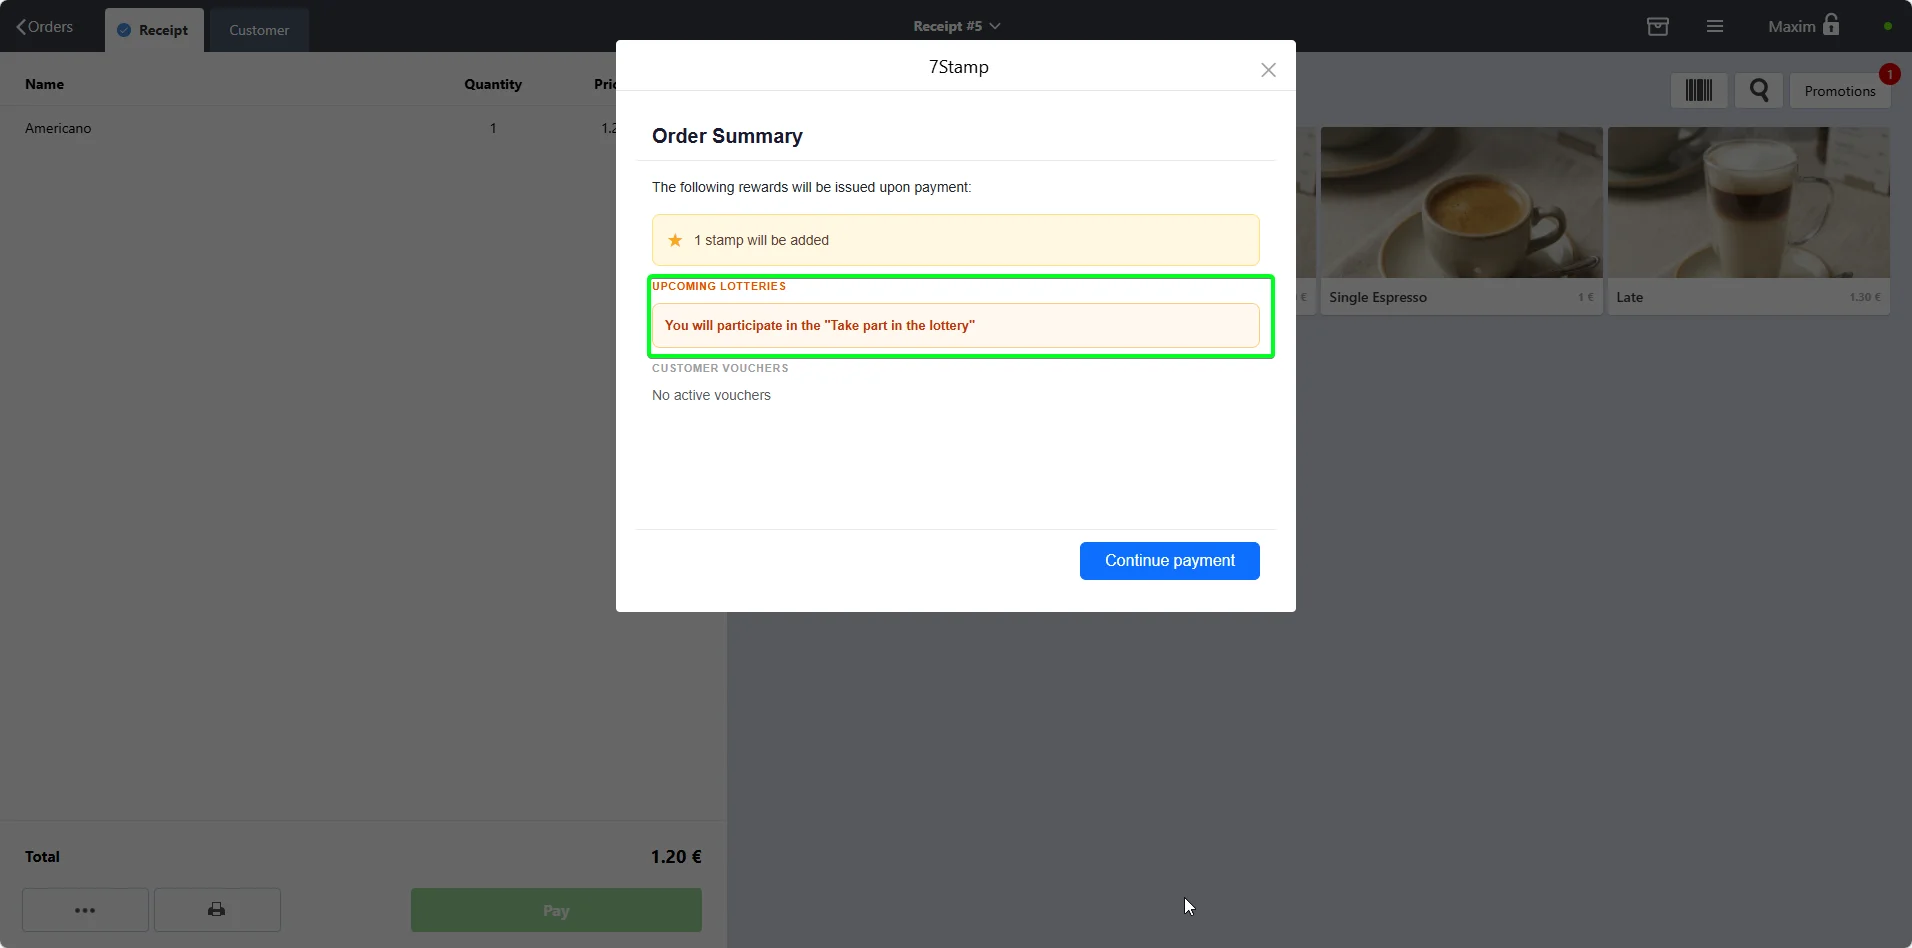
Poster shows how many stamps will be issued, what gifts or vouchers are available right now, and whether the customer is entering a lottery moment.

Poster POS reward notification after a customer earns a loyalty reward
Poster POS notice that a customer is about to play a loyalty lottery

5. How to record gifts in Poster

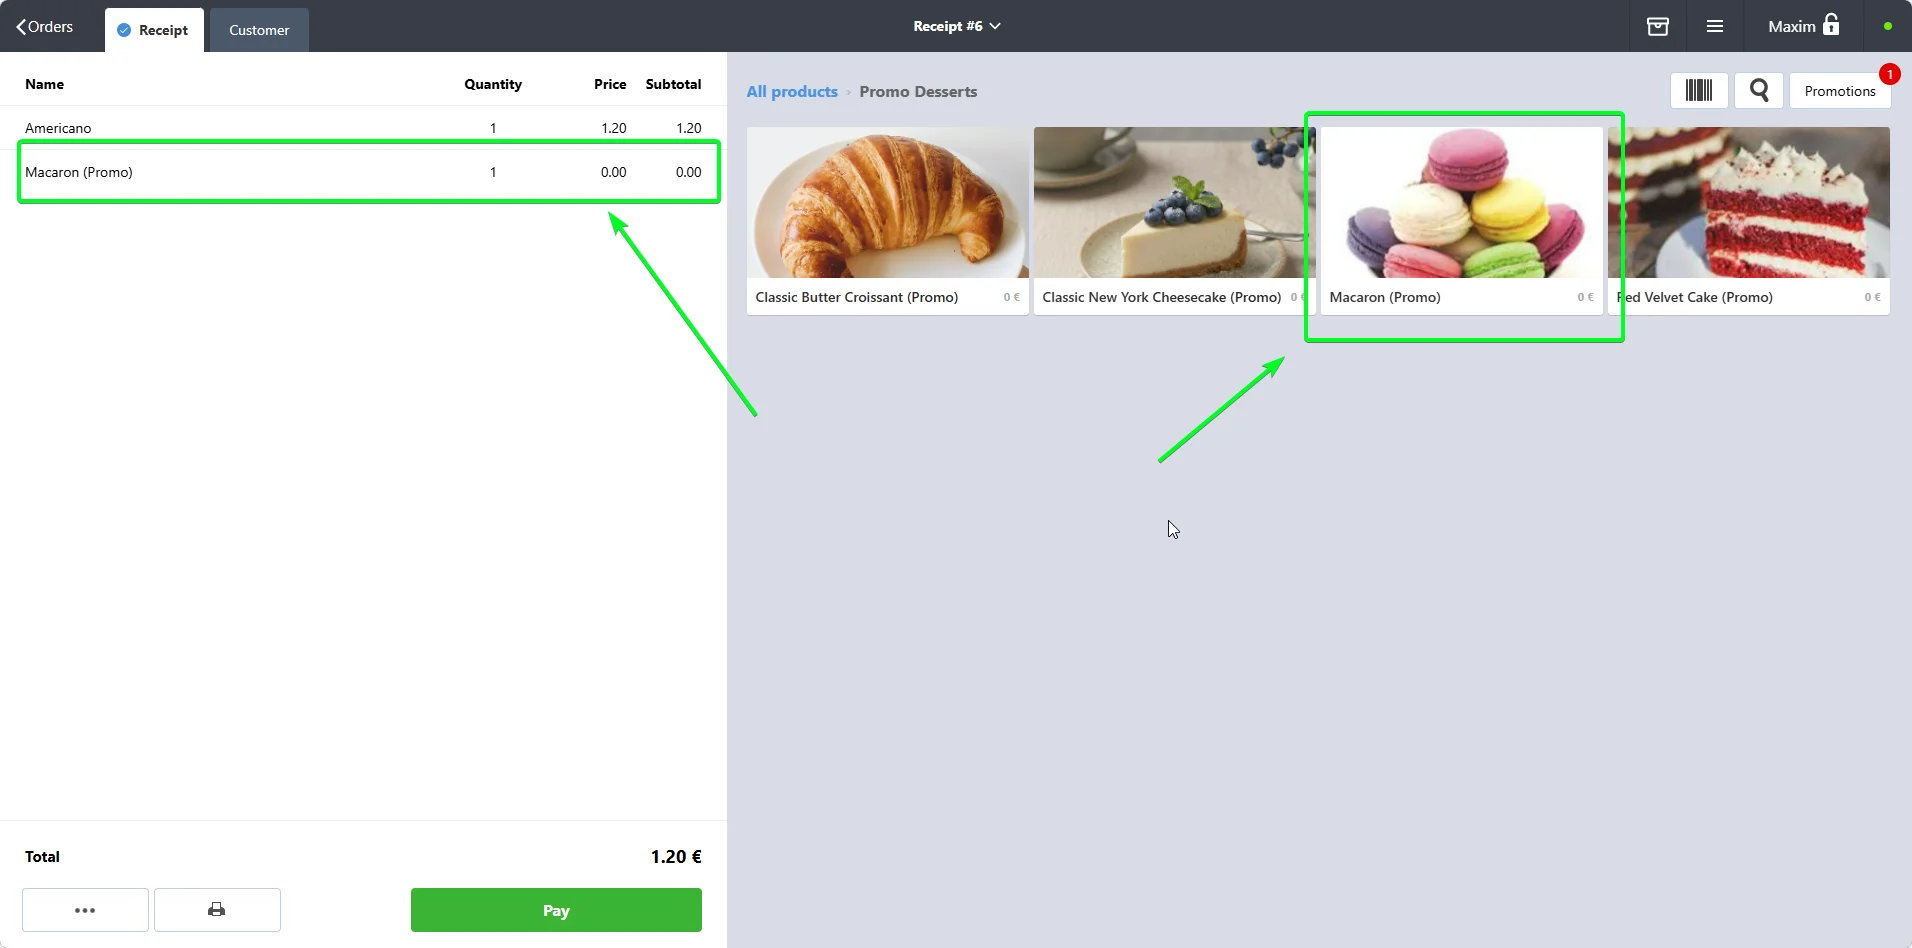
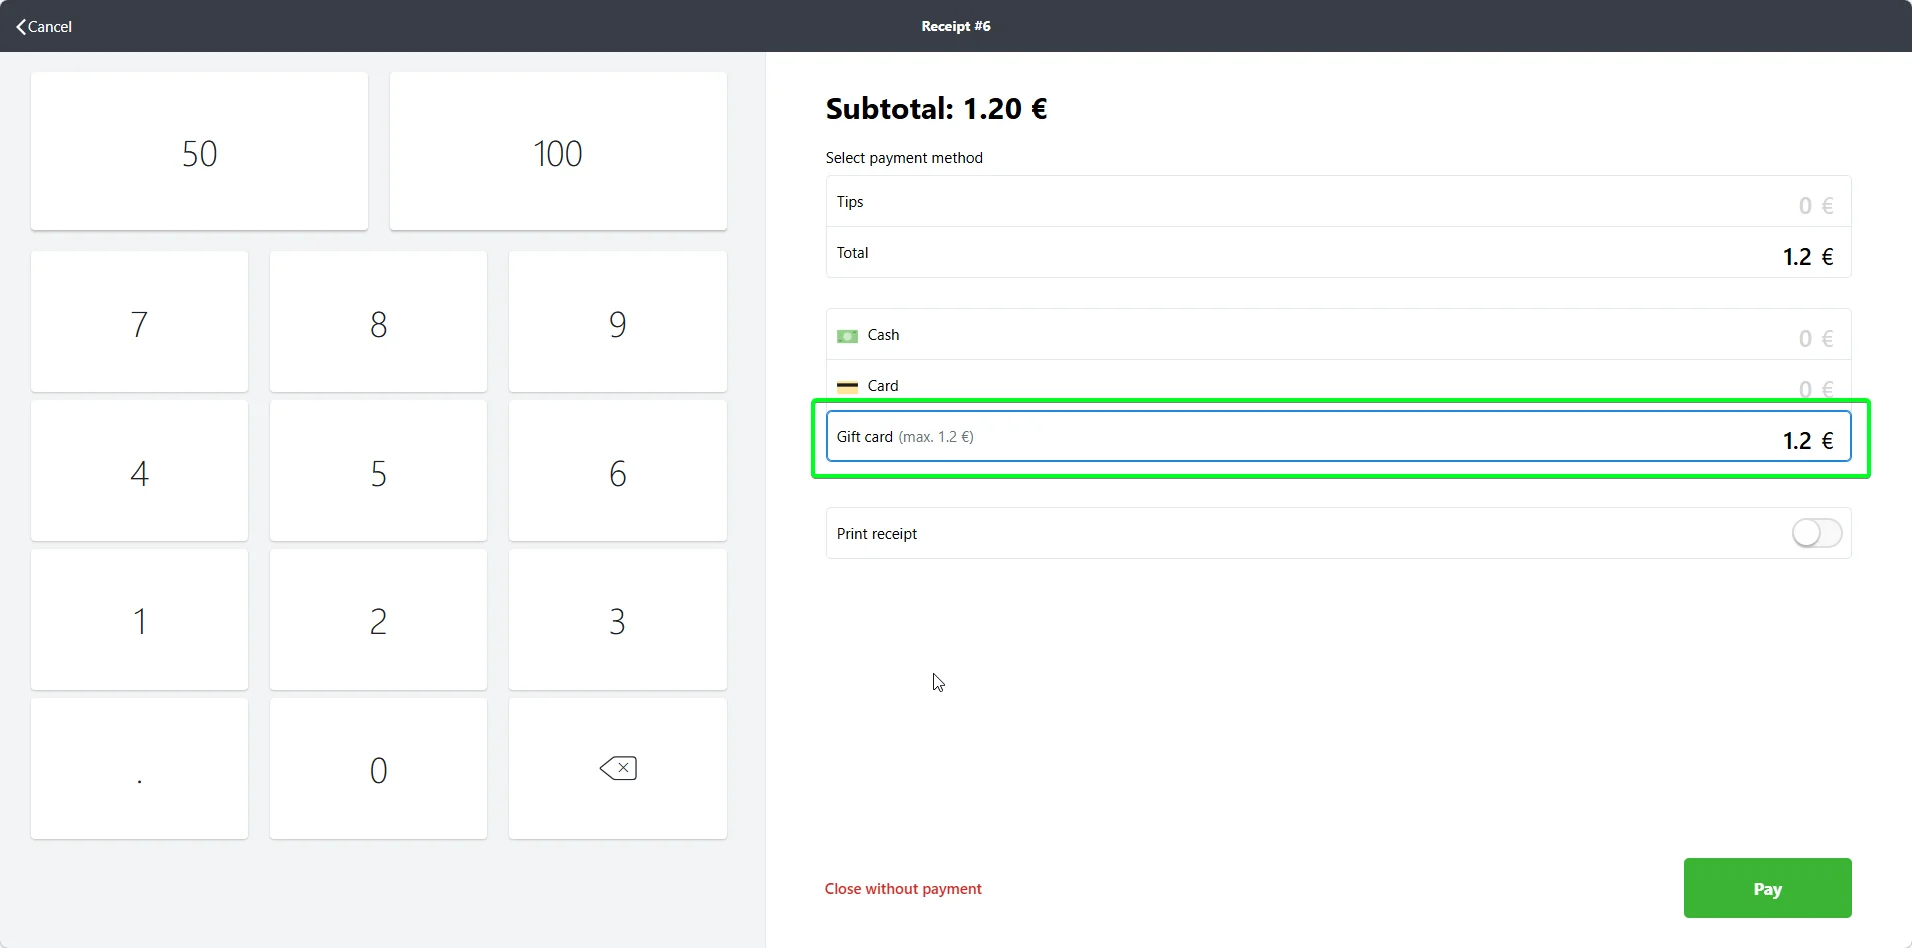
This is the accounting-critical section. If the gift is not put through the POS, the end-of-shift balance and stock write-off stop matching reality.

Method A. Special promo item

Free coffee, free dessert, or any item gift.

Poster POS check with a zero-price promo item used for a loyalty gift

Setup once

  • Create a duplicate menu item, for example Macaron (Promo).
  • Set the price to EUR 0.00.
  • Link it to the same recipe or stock card as the original item.

Cashier flow

  • When 7stamp shows an instant gift, the cashier adds the promo item to the check.
  • The rest of the check closes as usual.
Pros: Transparent for accounting, stock is written off automatically, and the gift appears as a separate line in reports.
Cons: You need a promo item per gift type if you want very clean reporting.

Method B. Manual promotion

Percentage discounts or amount-off rewards.
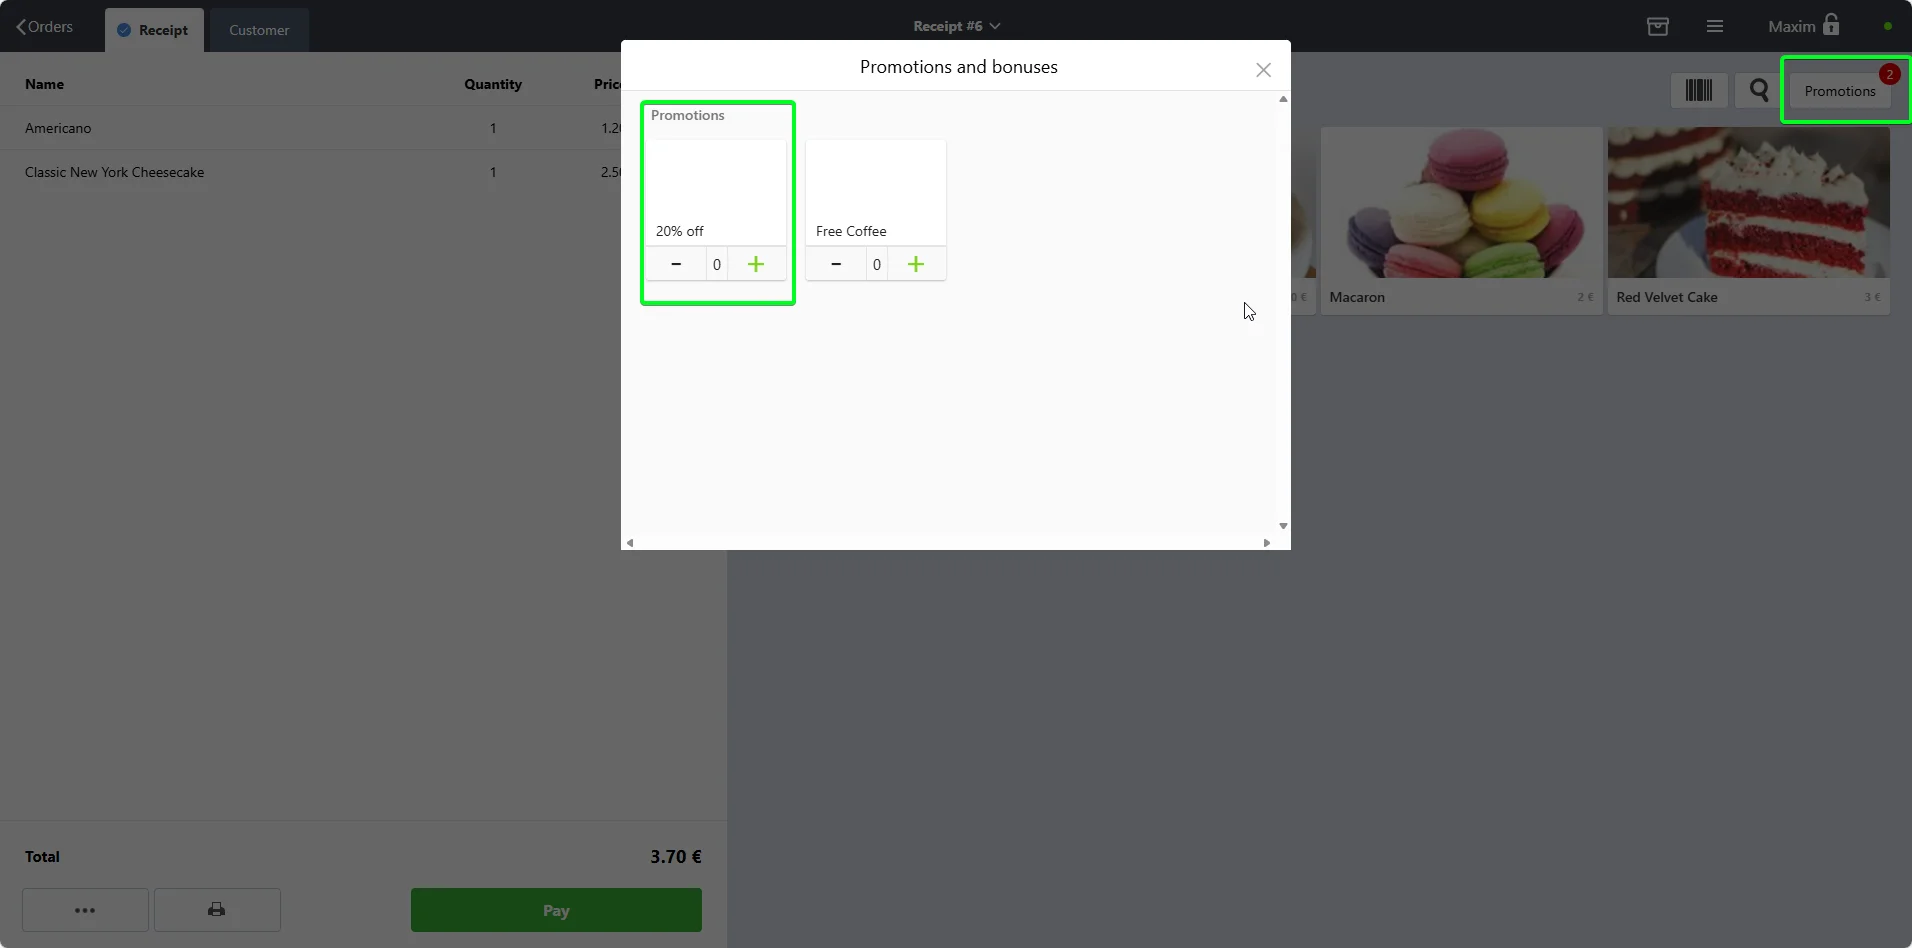
Poster POS manual discount promotion configuration modal

Setup once

  • In Poster go to Marketing -> Promotions -> Add promotion.
  • Set the type to manual so the cashier applies it.
  • Define the logic, such as -100 percent on one item or -20 percent on dessert.

Cashier flow

  • The cashier adds normal items to the check.
  • The cashier opens Promotions and chooses the right one from the list.
Pros: One promotion can cover multiple items and different discount sizes.
Cons: The cashier has to remember to choose it, so this path is easier to miss than a dedicated promo item.

Method C. Certificate payment method

Vouchers or more complex future-use rewards.

Poster POS certificate payment method used to redeem a voucher

Setup once

  • In Poster go to Settings -> Orders -> Methods -> Certificate -> Edit.
  • Enable Include certificate payments in revenue if your accounting flow needs it.

Cashier flow

  • Close the regular paid check first with real items and real money.
  • Create a second check for the gift item and close it with the Certificate payment method.
Pros: Separates live money from gift value cleanly and works especially well for vouchers redeemed on another day.
Cons: The cashier handles two checks instead of one.

6. Three reward types at checkout

Poster POS reward notification after a customer earns a loyalty reward

Instant gift

Issued the moment the customer reaches the goal. Poster shows the cashier the reward right before payment, and the item is recorded through the gift method that fits your reporting.

Poster POS success message after a 7stamp voucher is issued or shown

Voucher

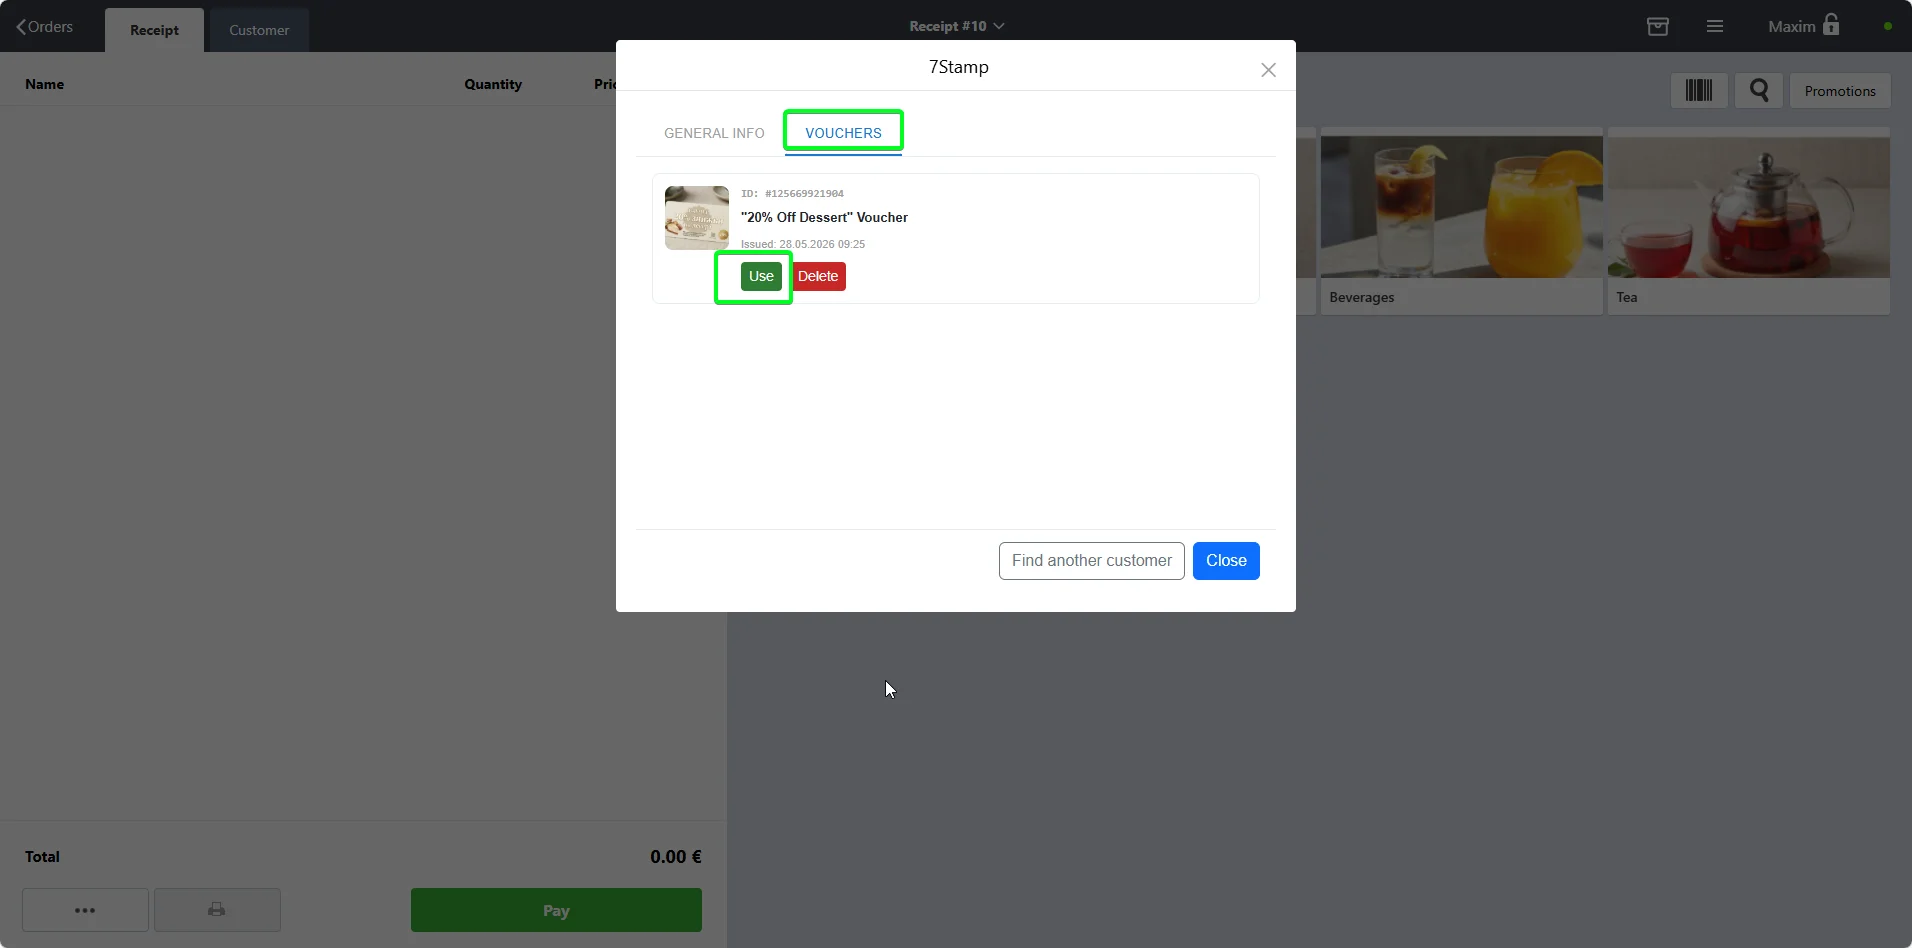
Lives inside the customer card with the states issued, active, redeemed, and expired. It can be used today or several visits later and can carry a Redeem Code.

Poster POS lottery result screen with a 7stamp reward outcome

Wheel of fortune

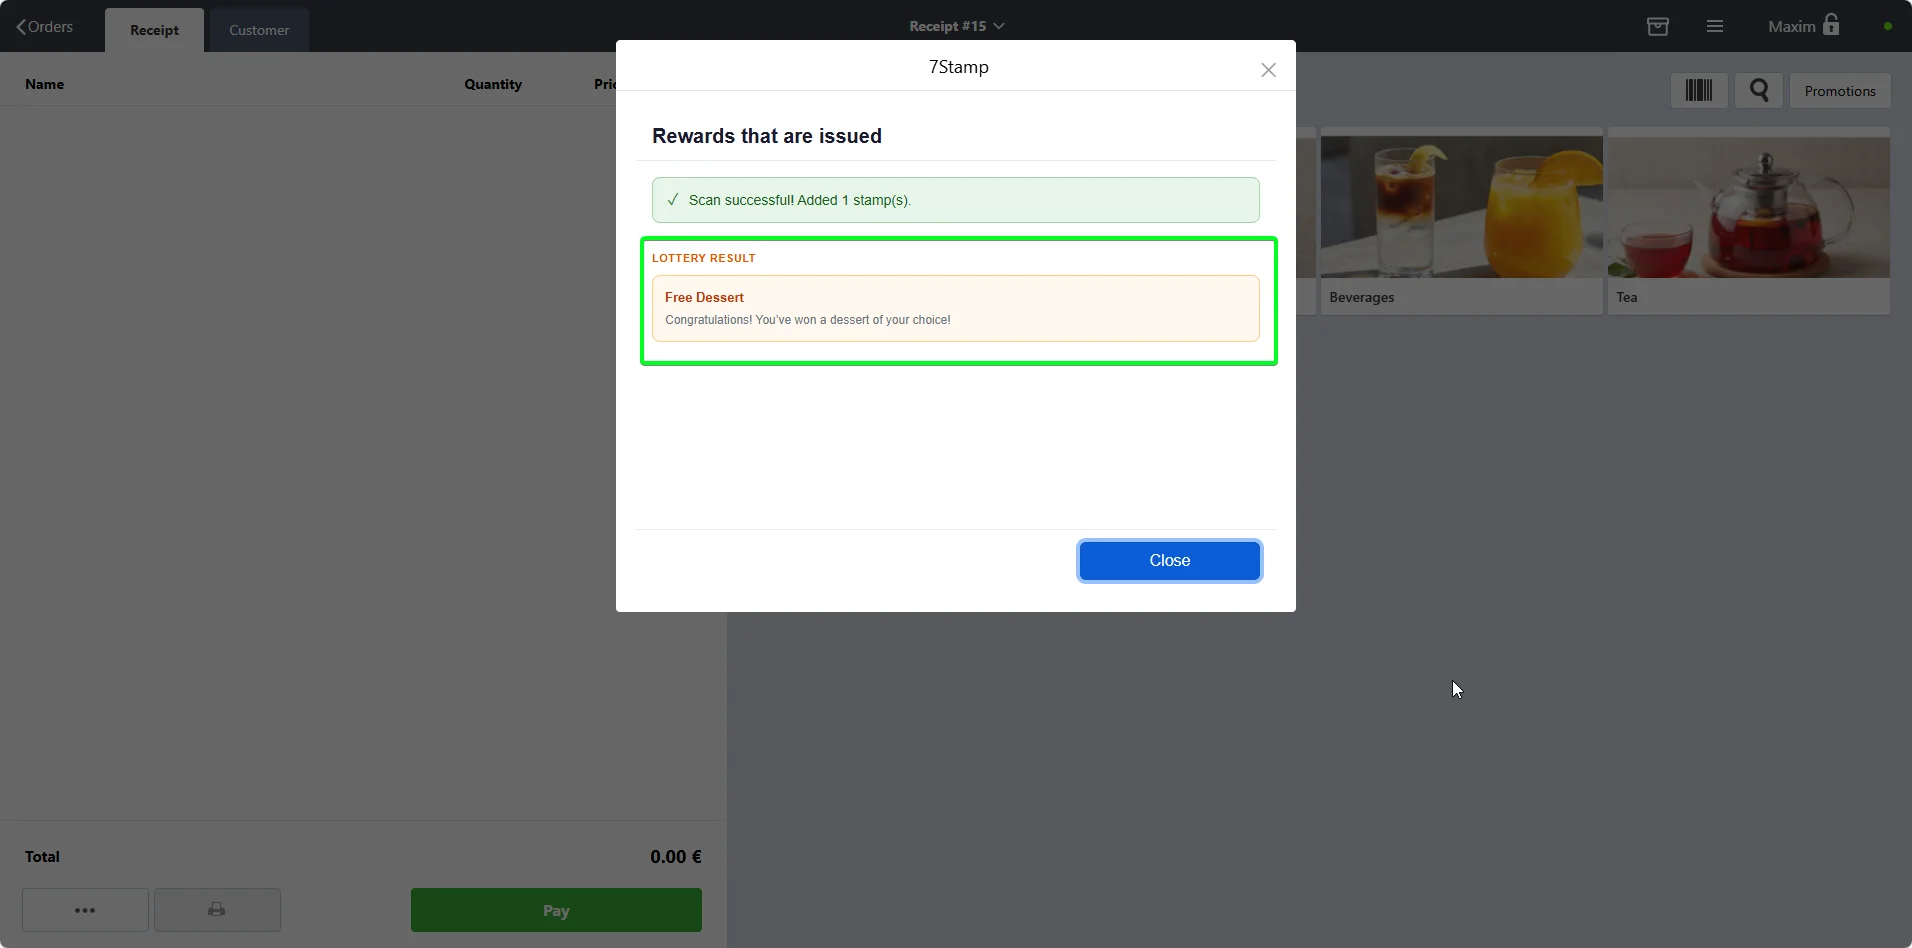
A reward moment that becomes a small game. The customer can win an instant gift, a voucher, an extra try, or nothing, and the result appears on the Poster payment screen.

7. Fully automatic modes

7.1 Receipt QR mode

This is the default recommendation for most fast-moving counters. A unique QR prints on every receipt, the customer scans it, gets the stamp instantly, and can install the wallet card in the same moment if they are new.

Poster POS 7stamp settings showing the print QR on receipt mode
Receipt preview showing a unique 7stamp QR code printed at the bottom

7.2 Self-service kiosk zone

Put an inexpensive tablet facing the customer, run the 7stamp Scanner app in kiosk mode, and let the guest scan without staff involvement. Enable anti-abuse protection so one customer cannot stack repeated scans in one visit.

Customer-facing bakery kiosk running the 7stamp self-service scanner flow
Customer-facing pizza counter kiosk running the 7stamp self-service scanner flow

8. Vouchers

Poster has discounts, promotions, and certificates, but not a real voucher engine with lifecycle, ownership, and one-time redemption protection. 7stamp fills exactly that gap.

Voucher issuance scenarios

  • Printed paper voucher cards for flyers, events, or inserts.
  • Birthday gifts issued automatically.
  • Segment campaigns with wallet push, email, and messengers.
  • Named compensation vouchers for service recovery or VIP outreach.
  • Partner coupons with unique batch-generated codes.
  • Win-back automations for customers absent for a set number of days.

Redeem Code use cases

  • Match an existing Poster promo code such as FREECOFFEE.
  • Log and audit each redemption separately.
  • Carry a digital payload like a secret code, bonus link, or access key.
Poster POS success message after a 7stamp voucher is issued or shown

9. Delivery Inserts

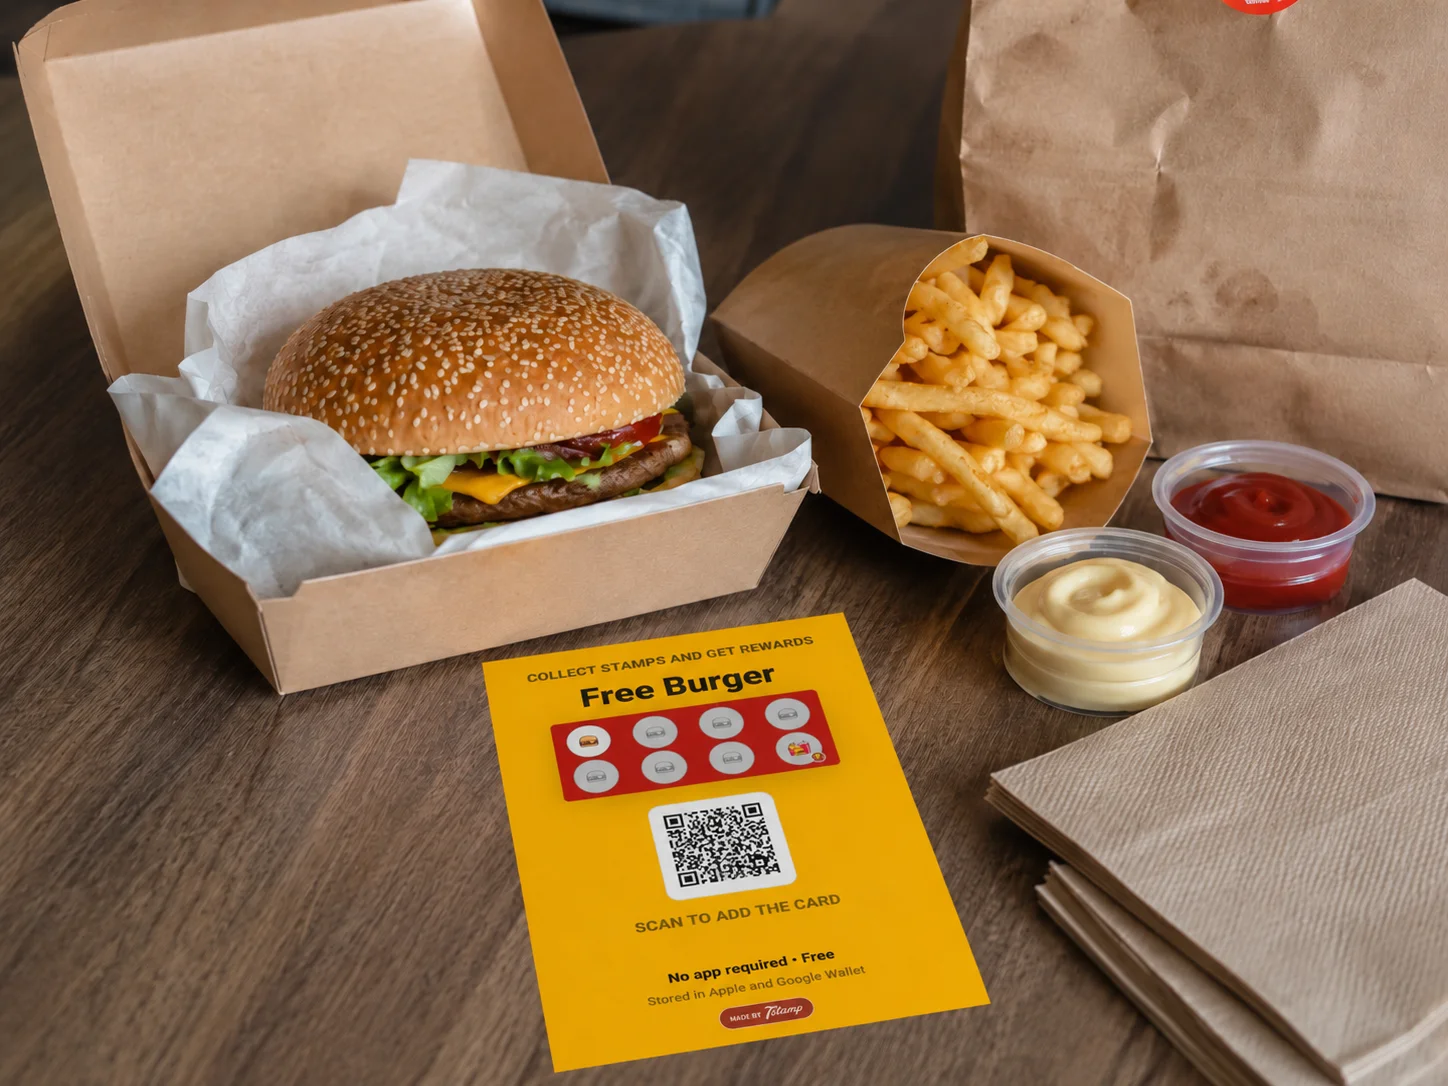
Aggregators control the customer relationship and take commission. Delivery Inserts turn one anonymous package into the first step of your own direct loyalty relationship.

Printed delivery insert with a 7stamp QR code and welcome offer
Generate a batch of unique QR codes in 7stamp Delivery Inserts and assign the welcome-stamp logic you want.
Print them as cards, stickers, or packaging slips and place one in every delivery package, no matter where the order came from.
Each code is single-use, so stamp farming is blocked while direct-customer acquisition keeps compounding.
Metric Via aggregator After Delivery Insert
Platform commission 25-35 percent 0 percent
Customer contact Not yours Yours through wallet push and email
Bring-back ability Paid ads on the aggregator Free reminders and own promotions
Birthday or win-back campaigns Not available Automatic in 7stamp

10. Quick start

  1. 01

    Understand what the Poster and 7stamp integration adds on top of the POS.

  2. 02

    Connect the 7stamp app from the Poster marketplace and prepare the API key.

  3. 03

    Choose the right stamping mode and rule before launch.

  4. 04

    Learn the manual staff-driven mode inside Poster checkout.

  5. 05

    Configure how gifts and vouchers are recorded in Poster reports.

11. FAQ for the team

What if no scanner or camera is connected to the POS?

The scan buttons simply do not show. Find the customer by the six-digit number from the card, email, or name.

What if a customer takes a screenshot of a voucher and tries to use it twice?

It will not work. The voucher lifecycle is issued -> active -> redeemed -> expired. After redemption the same screenshot cannot pass again.

Can I issue a voucher to a customer who does not have a 7stamp card yet?

Yes. Generate a voucher in the 7stamp admin panel and send the QR or link. The customer can use the voucher first, and the wallet card can be installed during that journey.

Can vouchers be printed on paper?

Yes. Generate the voucher, print the QR, and hand it out in flyers, events, or order packages. Redemption works the same way as with a digital voucher.

What if we work through Glovo or Bolt Food? Does Poster help us here?

The Poster integration itself is for offline checks. For aggregator orders, use 7stamp Delivery Inserts: put one QR insert into every package and gradually move those customers into your direct base.

How much does the Poster integration cost?

Free Forever includes up to 100 card operations per month and one staff seat. After that, paid plans start from EUR 29 per month or EUR 290 per year per location.

What if we have multiple locations?

Create a separate API key for each location or workstation. Location analytics in 7stamp can then show performance per branch separately.

Where do we go with questions?

Use WhatsApp, email, or phone from the support card in the table of contents panel. This guide is meant to cover the operating model, and support covers edge cases.

Related guides